How to Drain Your Midea Portable Air Conditioner Like a Pro
How to Drain Your Midea Portable Air Conditioner Like a Pro
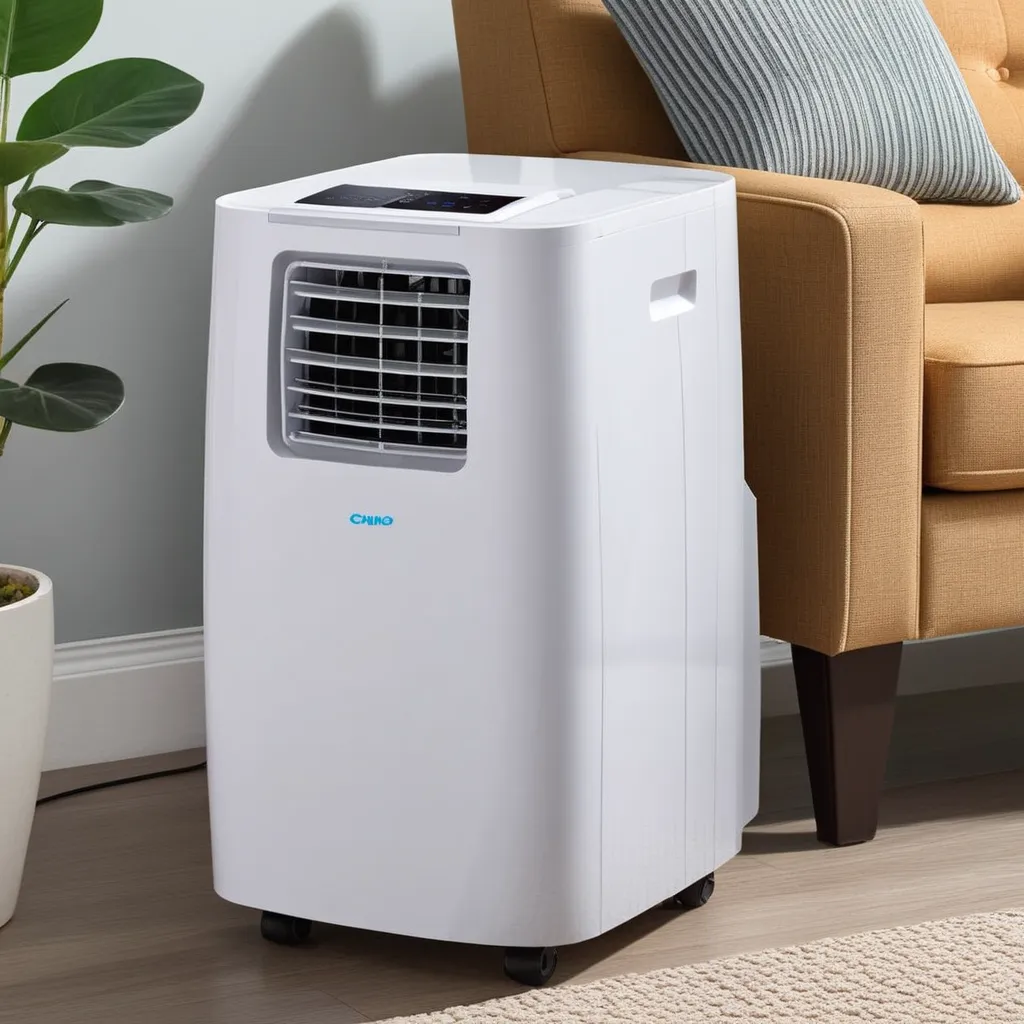
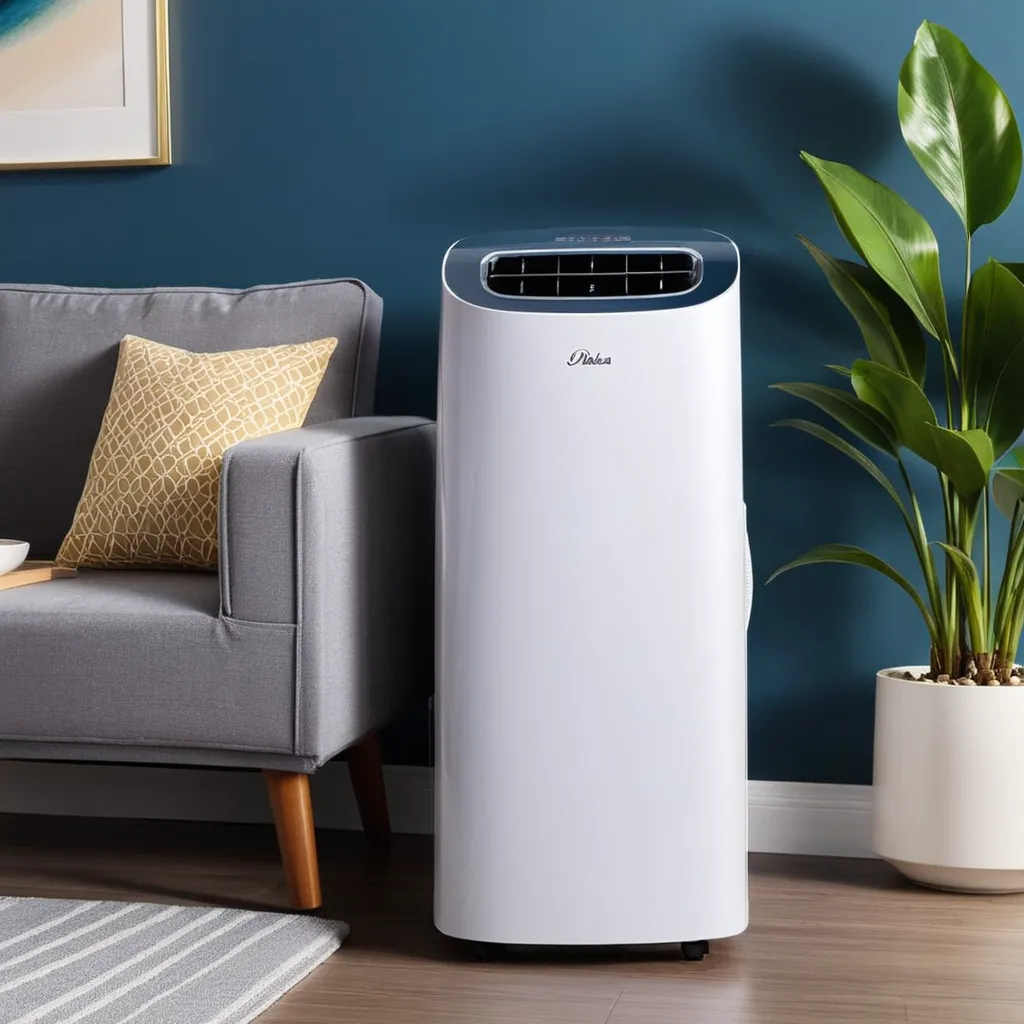
In the scorching heat of summer, your Midea portable air conditioner becomes a beacon of cool relief. However, to keep it running efficiently, it's essential to know how to properly drain it. Draining your Midea portable air conditioner is a straightforward process when done correctly, ensuring optimal performance and longevity. Follow this step-by-step guide to drain your Midea portable air conditioner like a pro and maintain a comfortably cool living space.
Understanding the Need to Drain
Before we delve into the process, it's crucial to comprehend why draining your Midea portable air conditioner is necessary. As the unit cools your space, it extracts moisture from the air, leading to condensation. Draining removes excess water, preventing issues like water leakage and mold growth.
Tools You'll Need
Gather the following tools to make the draining process smooth and hassle-free:
- Bucket or Container: To collect the drained water.
- Towel or Cloth: For any potential spills or drips.
- Condensate Drain Hose (if applicable): Some Midea models come with a drain hose for direct water disposal.
Step-by-Step Guide
Step 1: Turn Off the Unit
Before attempting any maintenance, ensure the Midea portable air conditioner is turned off. Unplug it from the power source to guarantee safety during the draining process.
Step 2: Locate the Drain Port
Identify the drain port on your Midea portable air conditioner. This is typically located at the back of the unit near the bottom. Refer to your unit's manual for specific guidance.
Step 3: Place a Container
Position a bucket or container under the drain port to collect the water. If your unit comes with a condensate drain hose, ensure it is directed into a suitable drainage area.
Step 4: Remove the Drain Plug
Some Midea models have a drain plug that needs to be removed to initiate the drainage. If applicable, carefully remove the drain plug, allowing the water to flow into the container.
Step 5: Wait for Complete Drainage
Allow the water to drain completely from the unit. This may take a few minutes. Keep an eye on the container to gauge the amount of water being expelled.
Step 6: Replace the Drain Plug (if applicable)
If your Midea portable air conditioner has a removable drain plug, replace it securely once the draining is complete.
Step 7: Wipe Down and Clean
Use a towel or cloth to wipe down the exterior of the unit and the area around the drain port. This ensures a clean and dry surface.
Additional Tips
- Regular Maintenance: Schedule regular draining to prevent water accumulation and maintain optimal performance.
- Check the Manual: Always refer to your unit's manual for model-specific instructions and guidance.
- Inspect the Hose: If your unit has a condensate drain hose, check it for any clogs or obstructions regularly.
Conclusion
Draining your Midea portable air conditioner is a simple yet crucial task to ensure its efficient operation. By following this step-by-step guide, you can perform the process like a pro, keeping your living space comfortably cool throughout the summer. Regular maintenance, attention to details, and a proactive approach will extend the lifespan of your Midea portable air conditioner, providing cool relief whenever you need it.