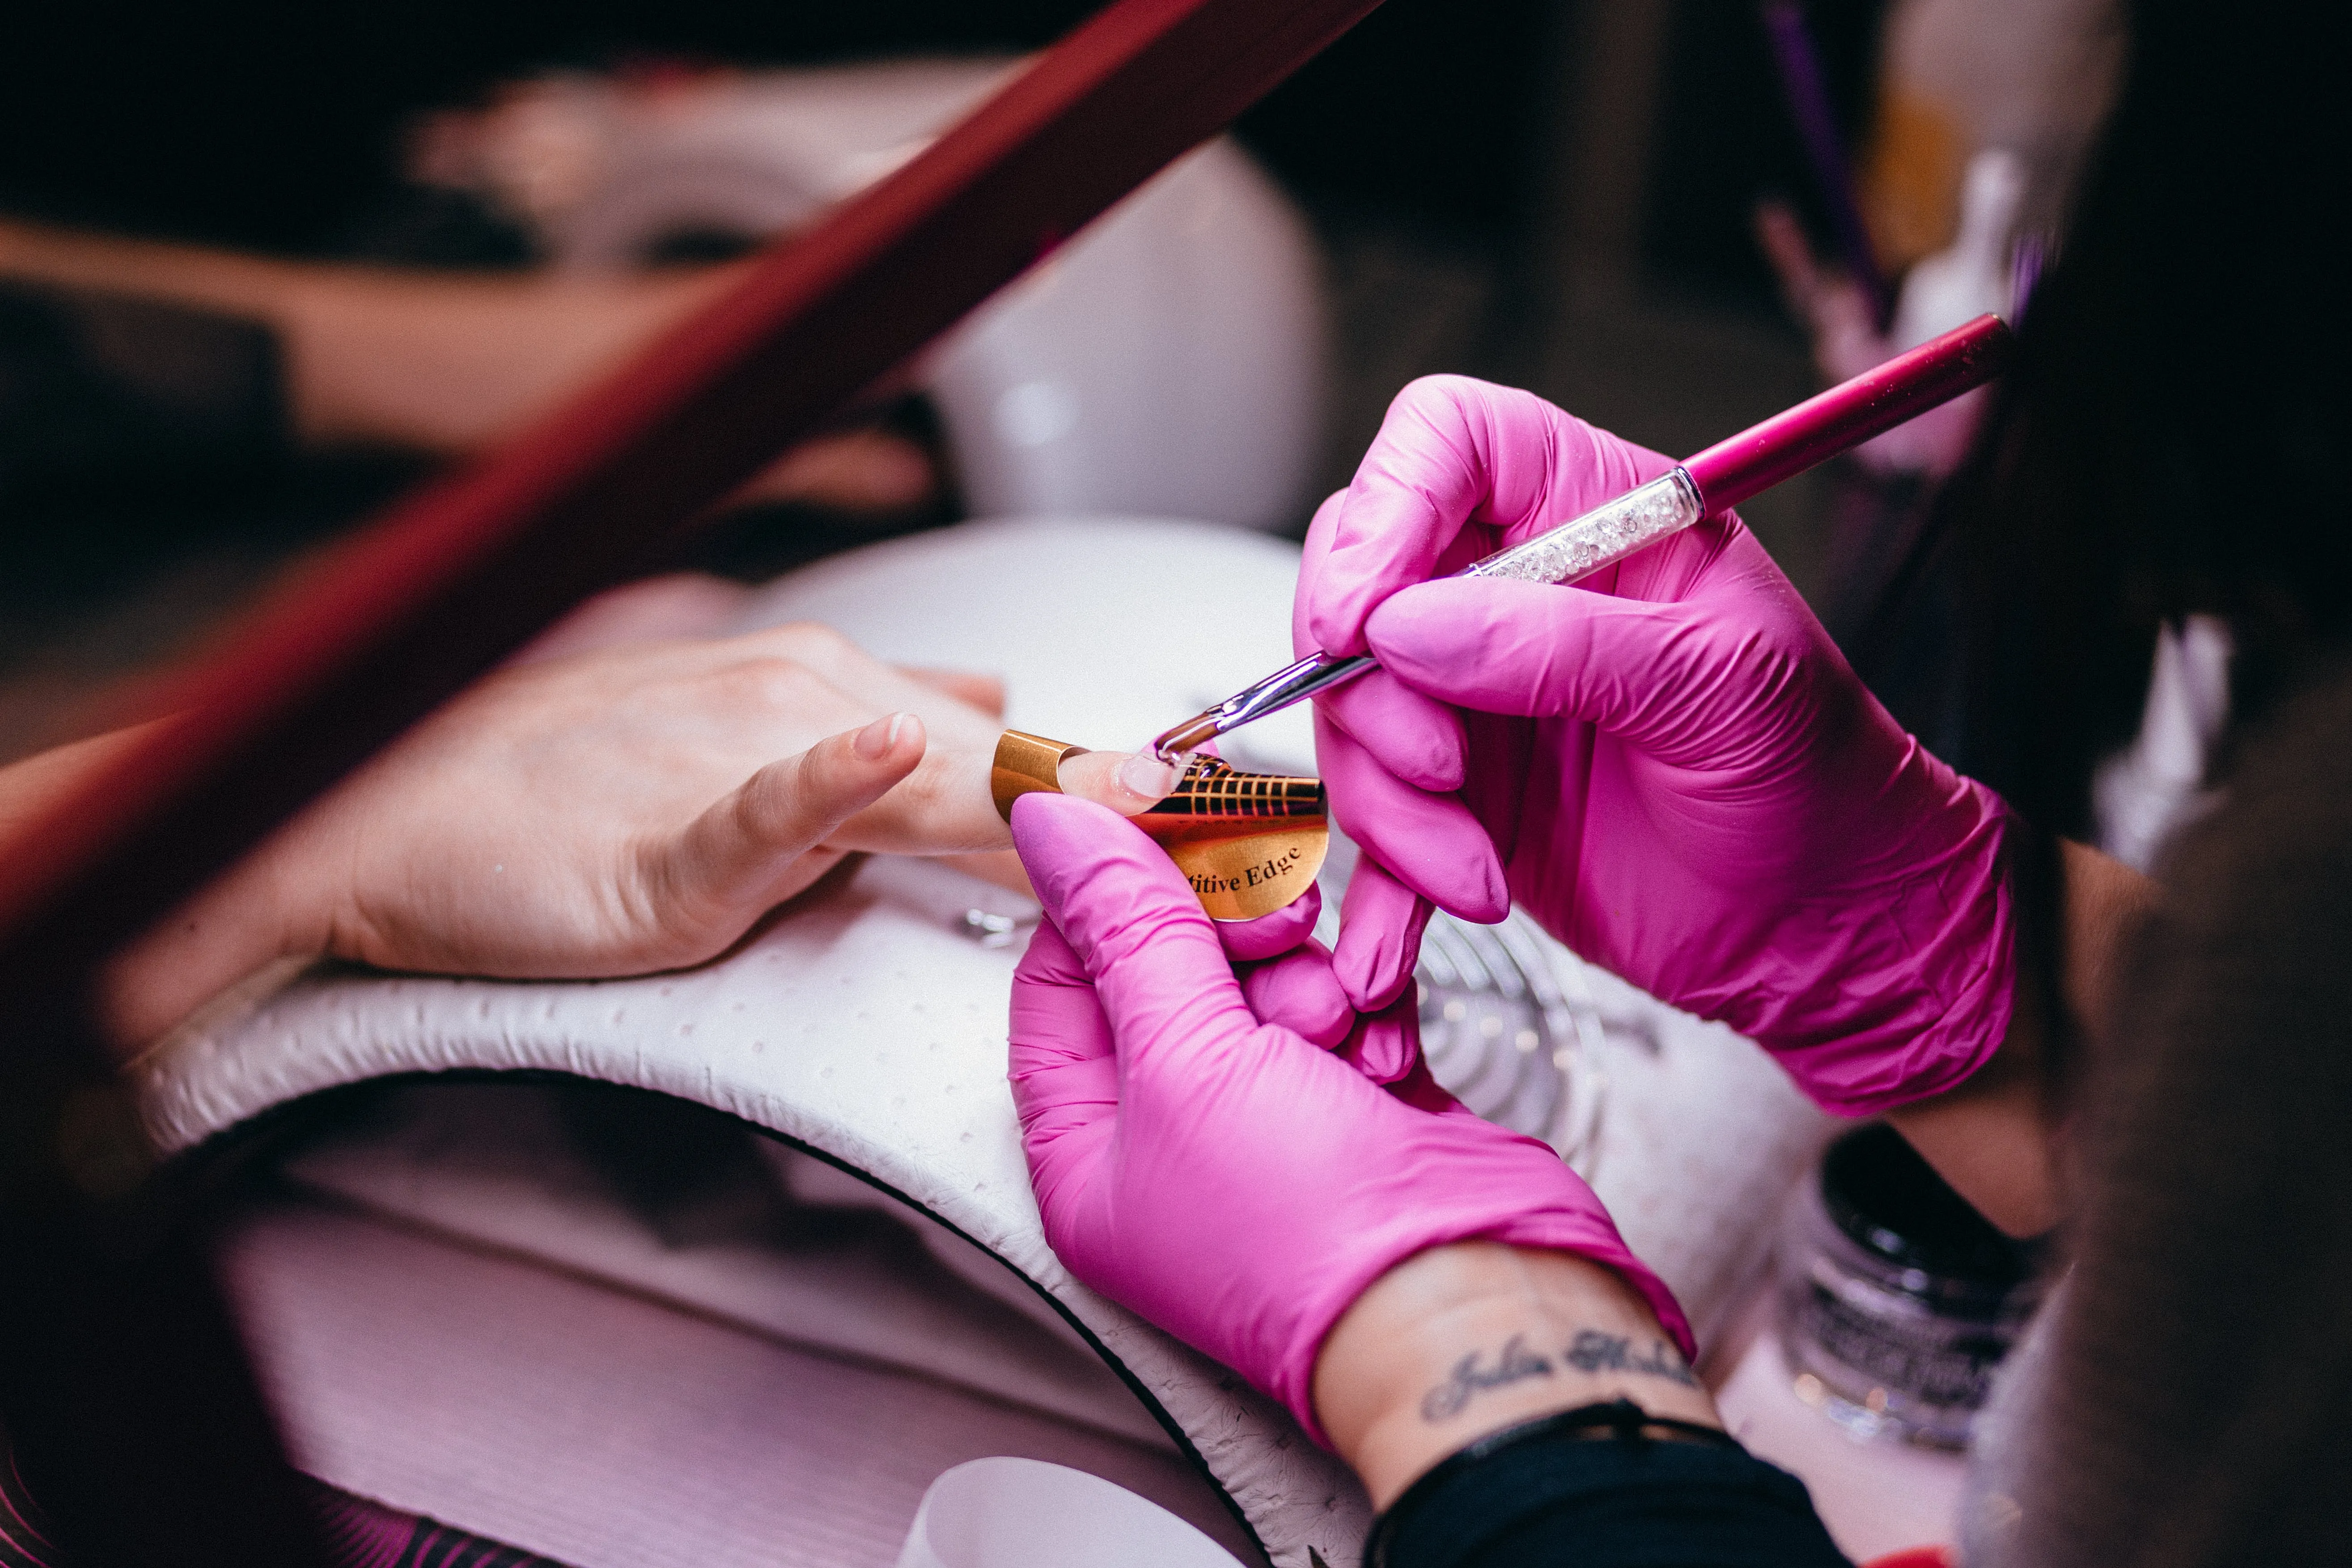
how to take off acrylic nails
Unveiling the Art of Acrylic Nail Removal: A DIY Guide
Ah, the allure of acrylic nails – they can make your hands feel like works of art. But, as all nail enthusiasts know, there comes a time when you want to bid farewell to those vibrant extensions and embrace a new nail canvas. Fear not, my fellow nail aficionados, for I am here to guide you through the delicate process of saying goodbye to your acrylic masterpieces.
Getting Started: Gather Your Tools
Before we embark on this nail adventure, let's gather our tools. For this mission, you'll need:
1. Acetone
Your trusty sidekick in acrylic nail removal. Acetone helps break down the acrylic material, making it easier to say farewell.
2. Cotton Balls or Pads
To apply the acetone and wrap your nails for an effective soak.
3. Aluminum Foil
The superhero cape for your nails – it helps keep the acetone in place during the soaking process.
4. Nail File
For gentle buffing and shaping after the acrylic has softened.
5. Cuticle Oil
To bring some post-removal love to your nails and cuticles.
The Step-by-Step Breakdown
Step 1: Clip Those Tips
Start by trimming the tips of your acrylic nails. This step isn't about going for a drastic cut but rather making the upcoming process more manageable.
Step 2: File Away the Top Layer
Gently file the top layer of the acrylic nails. This helps break the seal and allows the acetone to penetrate effectively. Don't go overboard; a light filing will do the trick.
Step 3: Soak 'Em Up
This is where the magic happens. Soak small pieces of cotton balls or pads in acetone, place them on your nails, and wrap each finger with aluminum foil. It might feel a bit like creating mini nail burritos, but trust the process. Let them soak for about 30 minutes.
Step 4: Check-In
After the soaking period, check the status of your acrylic nails. If they're lifting or easily coming off, use a gentle pusher or an orangewood stick to help nudge them along. If not, give them a bit more soaking time.
Step 5: Finishing Touches
Once the acrylic nails have gracefully bid adieu, it's time for some TLC. Gently buff the surface to smooth out any remaining residue. Follow up with cuticle oil to moisturize and nourish your natural nails.
Personal Anecdote: My Acrylic Odyssey
I still remember my first attempt at removing acrylic nails – a comedy of errors that involved too much filing and not enough patience. Let's just say, I learned the importance of taking it slow and letting the acetone work its magic. Now, armed with experience, I navigate the world of acrylic removal with confidence and a good dose of nostalgia for my early nail adventures.

Wrapping Up
As you embark on your acrylic removal journey, remember, it's a delicate process that requires patience and a gentle touch. Each nail tells a story, and the art of saying goodbye to your acrylics is a chapter in itself. So, gather your tools, follow the steps, and unveil the natural beauty beneath those vibrant extensions. Happy nail pampering!