how to solve a rubik's cube
tle: Decoding the Cube: A Beginner's Guide to Solving the Rubik's Cube
Introduction:
Greetings, aspiring cube conquerors! If you've ever been mystified by the colorful chaos of a Rubik's Cube, you're not alone. I vividly remember my first attempt – it looked more like a modern art project than a solved puzzle. But fear not! I've cracked the code and I'm here to guide you through the mesmerizing world of solving the Rubik's Cube.
Understanding the Cube: Colorful Challenge or Orderly Puzzle?
Know Your Cube
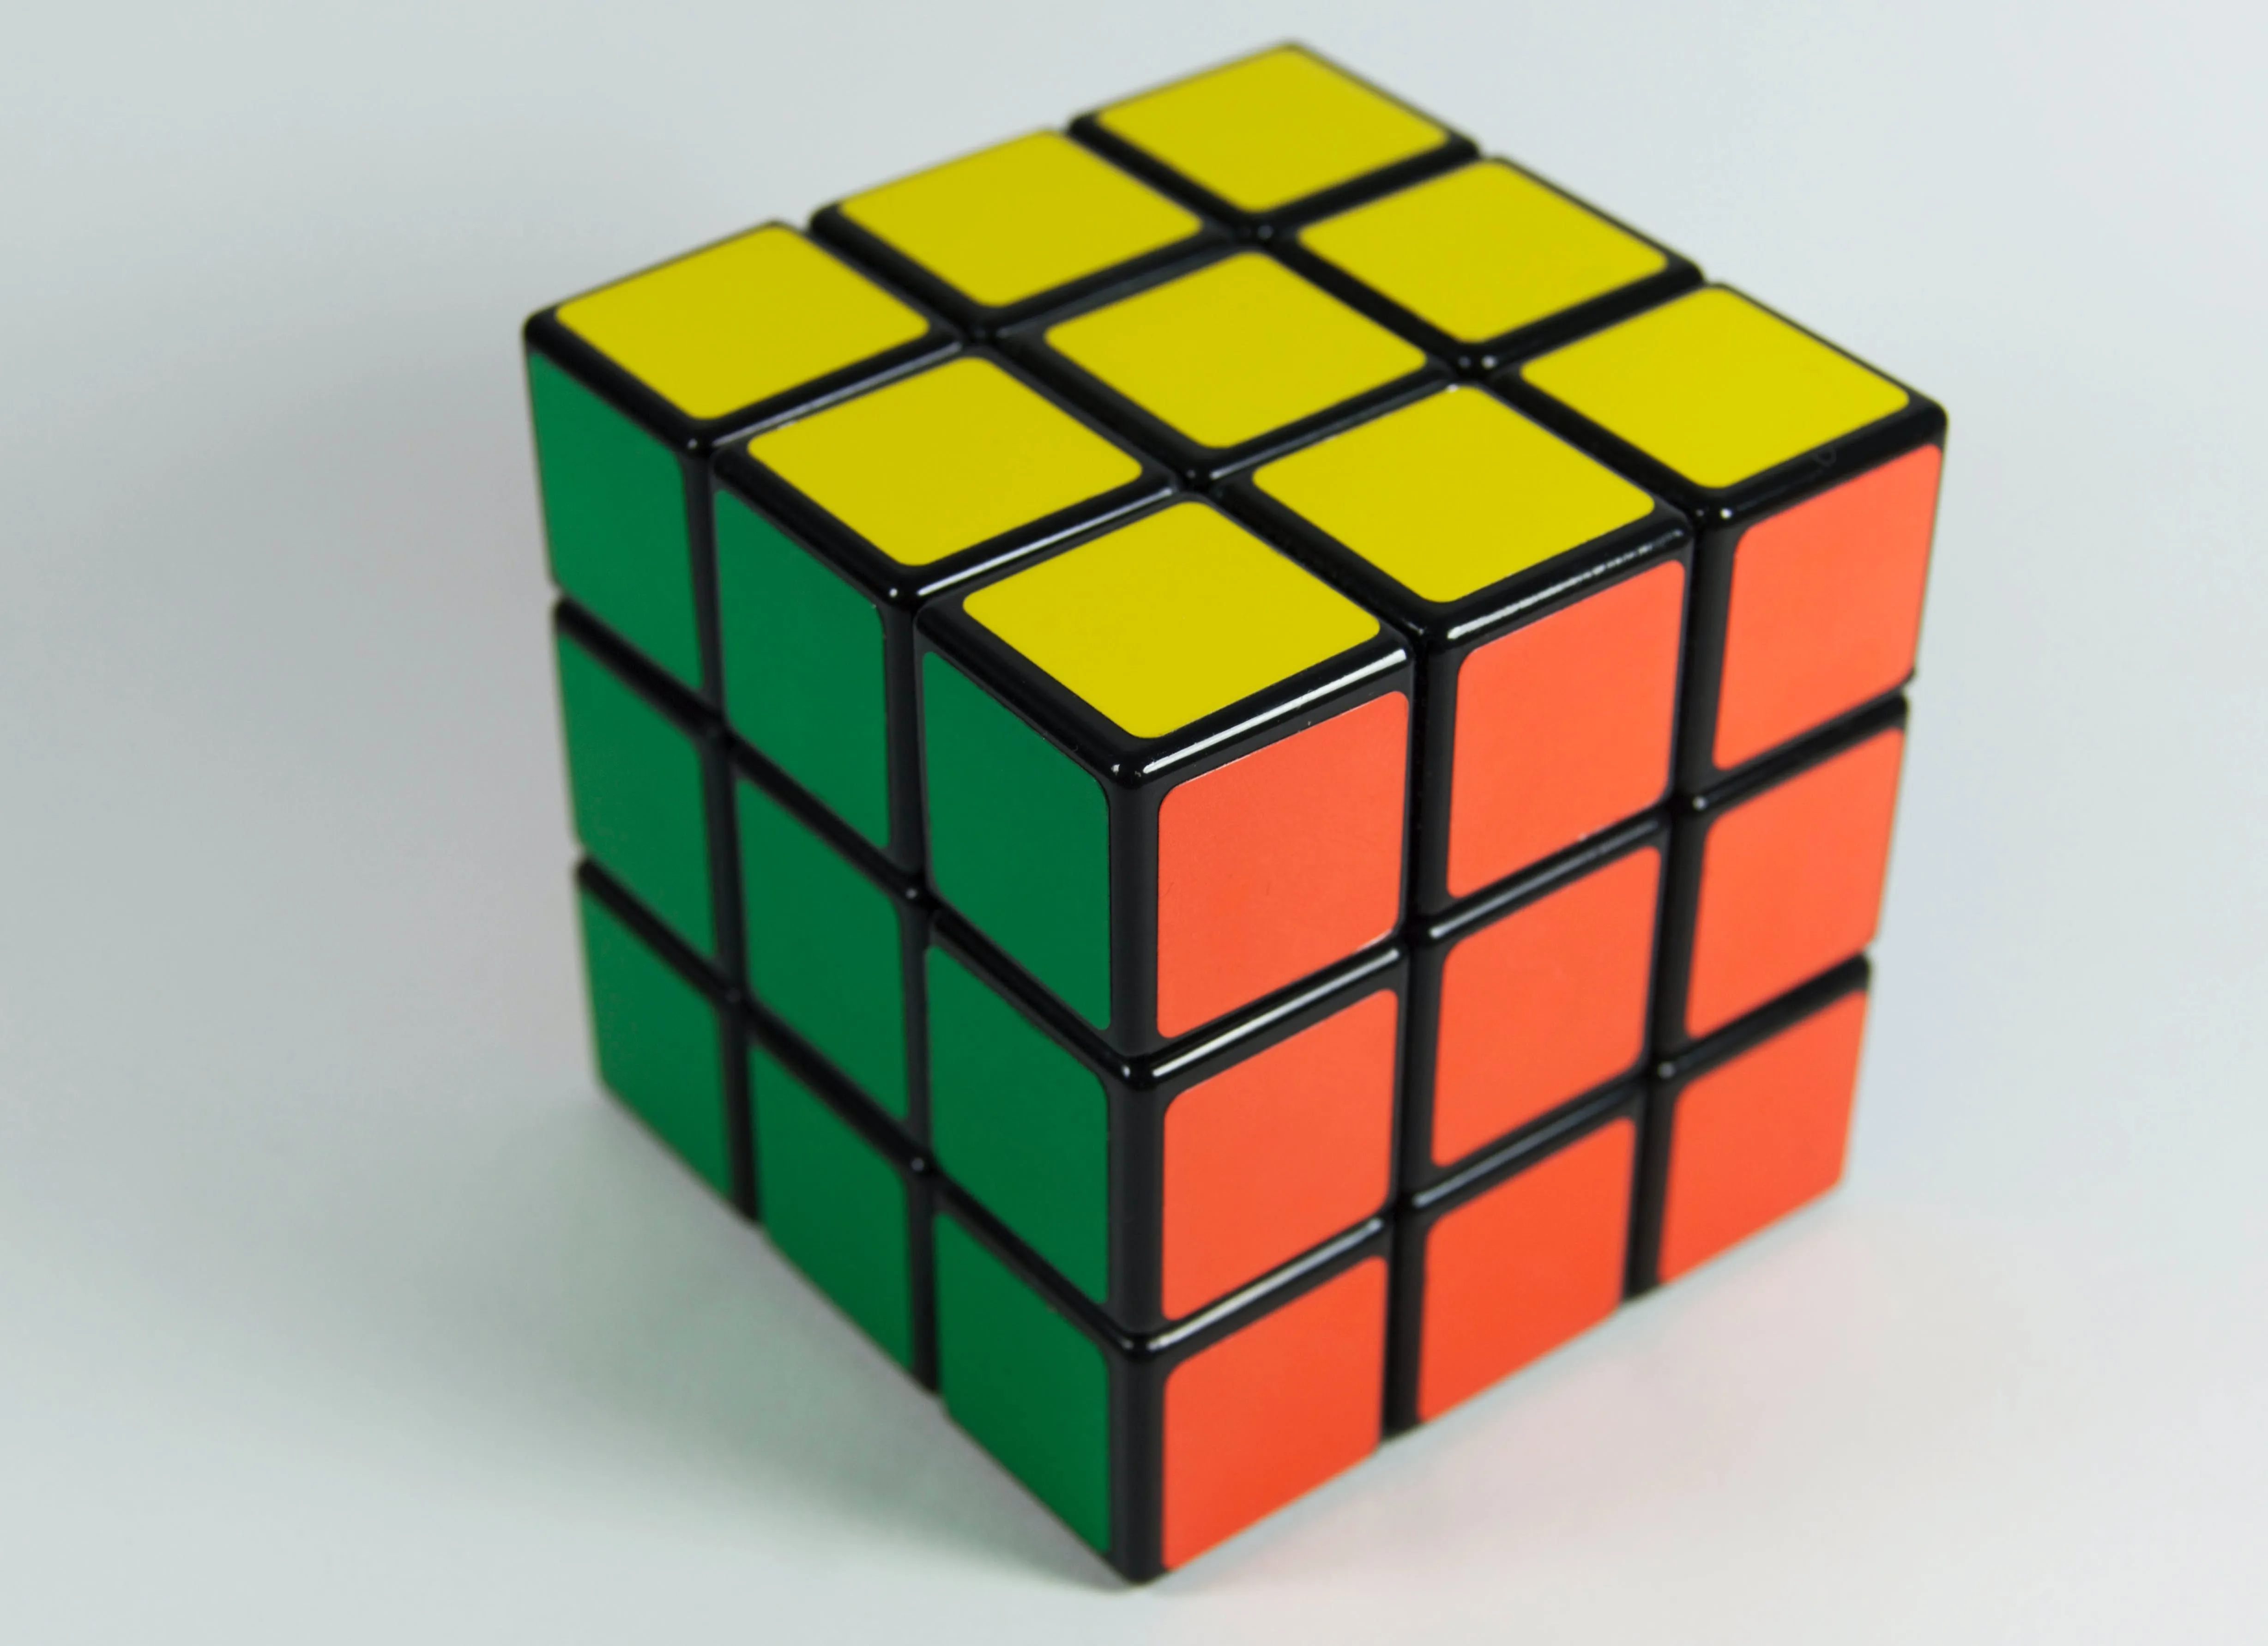
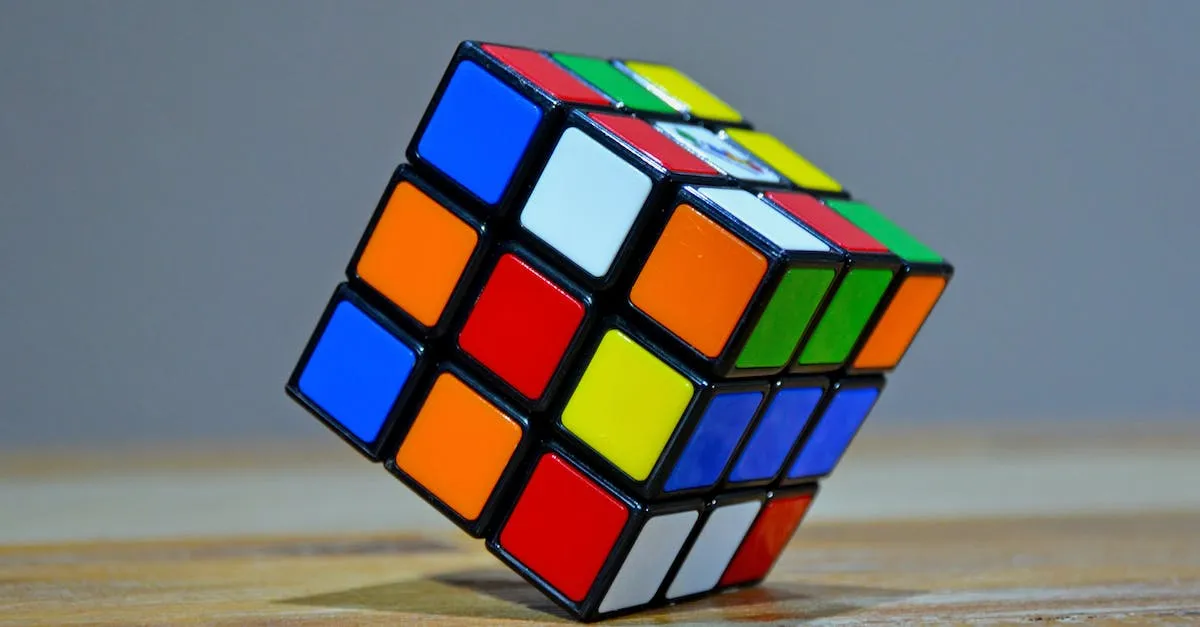
Before you dive into solving, get acquainted with the cube. Each face is a different color, and the goal is to arrange the colors so that each side is a solid color. The center squares are fixed, acting as your color anchors, while the edge and corner pieces can move around.
Personal Anecdote: I once tried rearranging the stickers on my cube, thinking I could cheat my way to victory. Spoiler alert: it didn't work, and I ended up with a messier cube.
Learning the Notation: The language of Cubers
Cubing Lingo
Understanding the notation is like learning a secret language. Each move has a specific letter or combination of letters. F, R, U, L, D, and B represent the six faces of the cube. An apostrophe (') means a counterclockwise turn, and 2 signifies a 180-degree turn.
Personal Anecdote: I felt like a secret agent decoding moves when I first learned the notation. It turned solving the cube into a cool, mysterious mission.
The Layer-by-Layer Method: Step-by-Step Victory
The White Cross: Your Starting Point
Begin with the white cross. Focus on getting the white edges to form a cross on the top face. Don't worry about the corner colors just yet – we'll tackle those in the next steps.
Personal Anecdote: My first "cross" looked more like a tilted asterisk, but hey, we all have to start somewhere.
Completing the First Layer: Corners and Edges
Move on to completing the first layer by matching the corner pieces to their respective side colors. Simultaneously, ensure that the edges of the first layer match the center colors.
Personal Anecdote: It felt like solving a mini-puzzle within the puzzle. I may have accidentally messed up a few times and had to backtrack, but that's part of the learning process.
The Second Layer: Building Momentum
Now, let's shift our attention to the middle layer. Use a combination of moves to place the edges of the second layer in their correct positions. It's like assembling the pieces of a tricky sandwich.
Personal Anecdote: My cube resembled a multicolored sandwich that got a bit squished in the process, but hey, it's progress.
Final Stretch: Solving the Last Layer
Orienting the Last Layer: The Yellow Cross
Focus on the yellow face now. Start by creating a yellow cross on the top layer. This might involve a few twists and turns, but you're in the home stretch!
Personal Anecdote: The yellow cross was my Everest. It took a bit of trial and error, but when it finally clicked, the satisfaction was unmatched.
Permuting the Last Layer: Finishing Touch
The last step involves arranging the yellow corner pieces to match their respective sides. Master the sequence, and voila! You've cracked the Rubik's Cube code.
Conclusion:
There you have it, fellow cube enthusiasts – a beginner's guide to conquering the Rubik's Cube. It's not about speed at first; it's about the joy of unraveling the puzzle. So, grab your cube, embrace the challenge, and enjoy the journey of becoming a bona fide cube-solving maestro. Happy cubing!