how to season a cast iron skillet
Perfecting the Patina: A Guide on How to Season a Cast Iron Skillet
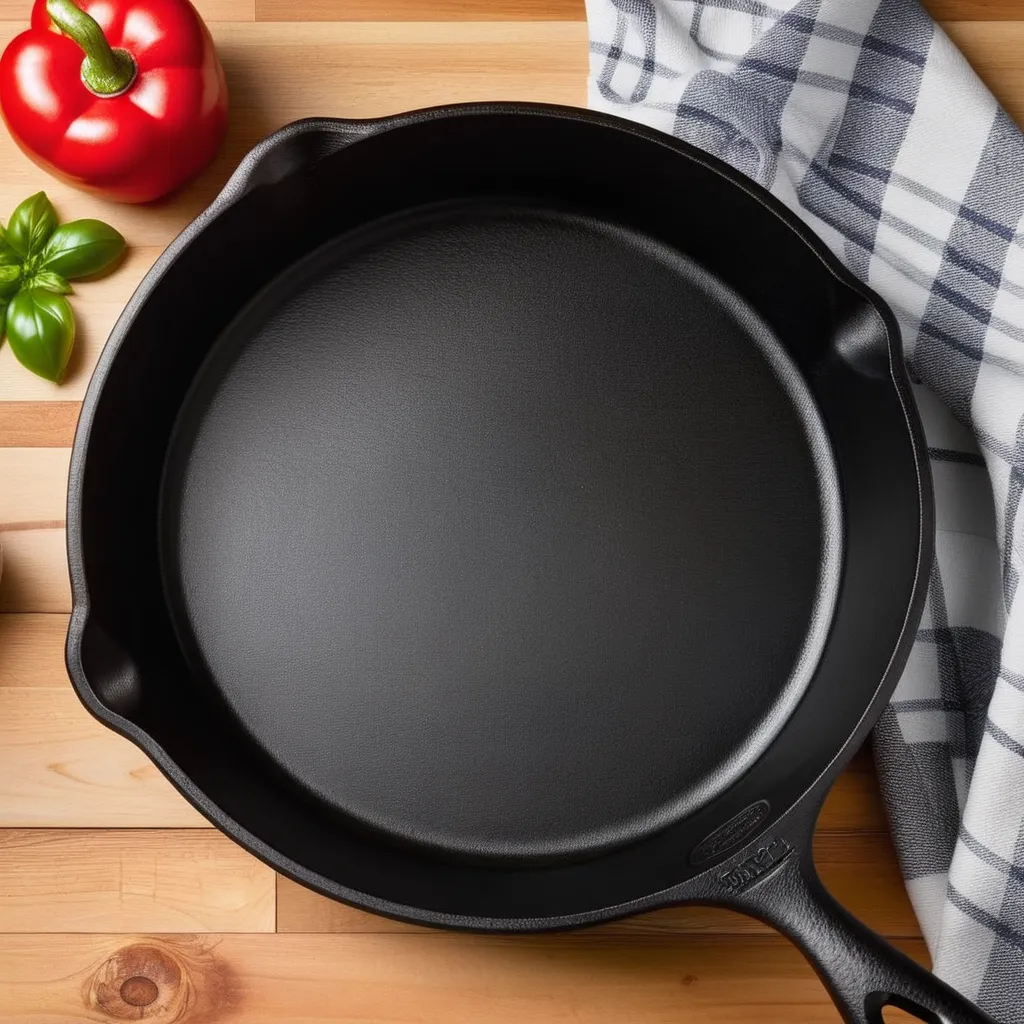
Seasoning a cast iron skillet is like giving it a protective shield and a non-stick superpower. If you're a newcomer to the world of cast iron or have struggled with seasoning in the past, fear not. Let's embark on a journey to discover the art of seasoning, with tips, tricks, and personal anecdotes to ensure your cast iron skillet becomes a kitchen workhorse.
Understanding the Basics:
What is Seasoning?
In cast iron lingo, seasoning refers to the process of coating the skillet with a layer of fat or oil, then heating it. This creates a polymerized layer that not only prevents rust but also imparts a natural non-stick quality to the surface.
Personal Insight:
When I first got my hands on a cast iron skillet, I was intimidated by the seasoning process. But once I understood the basics, it became a game-changer in my kitchen.
Choosing the Right Oil:
Not all oils are created equal for seasoning. Opt for oils with a high smoke point, like vegetable oil, flaxseed oil, or grapeseed oil. These oils create a durable and slick surface.
Pro Tip:
I initially used olive oil for seasoning, only to discover that its lower smoke point could lead to a sticky residue. Switching to grapeseed oil made a noticeable difference.
Preparing Your Cast Iron Skillet:
Scrubbing Away the Past
If your skillet is new, wash it with warm water and mild soap to remove any factory residues. If it's a hand-me-down or neglected, a round of reseasoning might be in order.
Personal Learning:
I inherited a rusty cast iron skillet from my grandmother. After some research and elbow grease, I transformed it into a kitchen gem with a robust seasoning.
Drying Thoroughly:
After washing, towel-dry the skillet completely. Moisture is the enemy of cast iron and can lead to rust, so ensure it's bone-dry before moving on to the seasoning process.
Anecdotal Wisdom:
In my early cast iron days, I neglected proper drying and encountered rust issues. Lesson learned: patience in drying pays off in the long run.
The Seasoning Process:
Applying the First Layer:
Coat the entire skillet, inside and out, with a thin layer of your chosen oil. Use a paper towel to ensure an even application. This will be the foundation of your skillet's protective patina.
Personal Success:
I vividly remember nervously applying the first layer of oil. It felt like a culinary ritual, knowing this layer would set the stage for countless delicious meals.
Wiping Off Excess Oil:
After applying the oil, use a clean paper towel to wipe off any excess. The goal is to leave a thin, almost invisible layer of oil on the skillet. Too much oil can lead to a sticky finish.
Insightful Discovery:
In my early attempts, I was overzealous with the oil, leading to a gummy residue. Finding the right balance was crucial for achieving that coveted non-stick surface.
The Baking Magic:
Upside-Down in the Oven:
Place the skillet upside-down in the oven, with a baking sheet or aluminum foil on the rack below to catch any drips. This ensures an even distribution of heat during the seasoning process.
Proactive Approach:
I once skipped the upside-down step and ended up with uneven seasoning. Now, it's a non-negotiable part of my seasoning routine for consistent results.
Heating to Perfection:
Preheat the oven to a temperature slightly above the oil's smoke point. This varies based on the oil you choose. The heat helps the oil polymerize, creating that coveted non-stick layer.
Personal Learning:
My impatience once led to underheating the oven, resulting in a less durable seasoning. Now, I set a timer and resist the temptation to rush the process.
Repeat for Resilience:
Layer Upon Layer:
One round of seasoning is just the beginning. To achieve a robust, resilient patina, repeat the process multiple times. Each layer adds to the skillet's non-stick prowess.
Personal Success:
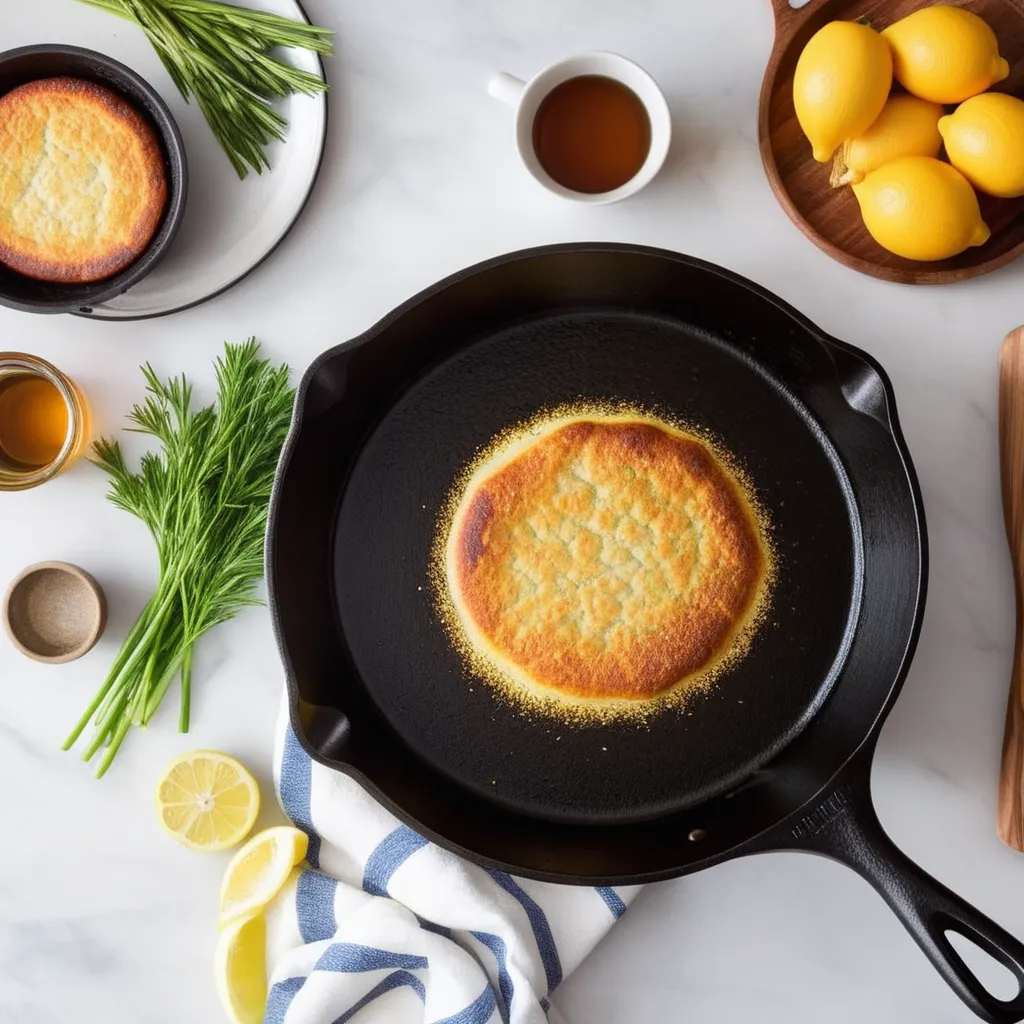
After a few rounds of seasoning, I noticed a significant improvement in the skillet's performance. It became my go-to for everything from searing steaks to baking cornbread.
Regular Maintenance:
After seasoning, regularly cook with your cast iron skillet. The natural oils from your food contribute to the seasoning, enhancing its non-stick properties over time.
Anecdotal Wisdom:
I initially feared cooking acidic foods in my cast iron. However, a well-seasoned skillet can handle tomatoes and other acidic ingredients without compromising the seasoning.
Troubleshooting Tips:
Dealing with Sticky Situations:
If your skillet feels sticky after seasoning, it might be due to excess oil. Pop it back in the oven and bake at a higher temperature to help the oil fully polymerize.
Pro Tip:
I encountered stickiness once and thought my seasoning was ruined. A corrective round of high-temperature baking restored the non-stick magic.
Tackling Rust Spots:
If you notice rust spots, don't panic. Scrub the affected area with steel wool, rewash, dry thoroughly, and reseason. It's a fixable setback.
Insightful Discovery:
I left my skillet damp once, leading to a small rust spot. A quick rust-removal session followed by reseasoning saved the day.
In Conclusion:
Seasoning a cast iron skillet is both a science and an art. With the right oil, proper preparation, and a commitment to the seasoning process, you'll transform your skillet into a kitchen essential. Embrace the journey, learn from each attempt, and soon you'll be enjoying the benefits of a perfectly seasoned cast iron skillet in your culinary adventures. Happy seasoning!