how to roll a joint
Rolling a Joint 101: A Friendly Guide for Budding Enthusiasts
Introduction: The Art of Joint Rolling
Ah, the age-old skill of rolling a joint – a rite of passage for many cannabis enthusiasts. If you're new to this journey, fear not! In this friendly guide, we'll break down the process, share some personal insights, and have you rolling like a pro in no time. Let's embark on this laid-back adventure together!
The Essentials: What You'll Need
1. Quality Herb:
Start with good-quality cannabis. Whether you prefer sativa, indica, or a hybrid blend, choose a strain that suits your vibe.
2. Rolling Papers:
Opt for thin, easy-to-handle rolling papers. There are various sizes and materials to choose from, so explore and find your favorite.
Personal Anecdote: The Quest for the Perfect Paper
In my early days, the world of rolling papers overwhelmed me. After a few trials (and amusing errors), I discovered the joy of rolling with the right paper that matched my rolling style.
The Rolling Technique: Step by Step
1. Grind It Right:
Invest in a quality grinder to break down your herb evenly. A finely ground herb ensures a smoother, more consistent burn.
2. Create the Crutch:
Roll a small piece of thick paper or use a pre-made filter to create the crutch (or tip). This not only adds structure but also prevents your fingers from getting too close to the end.
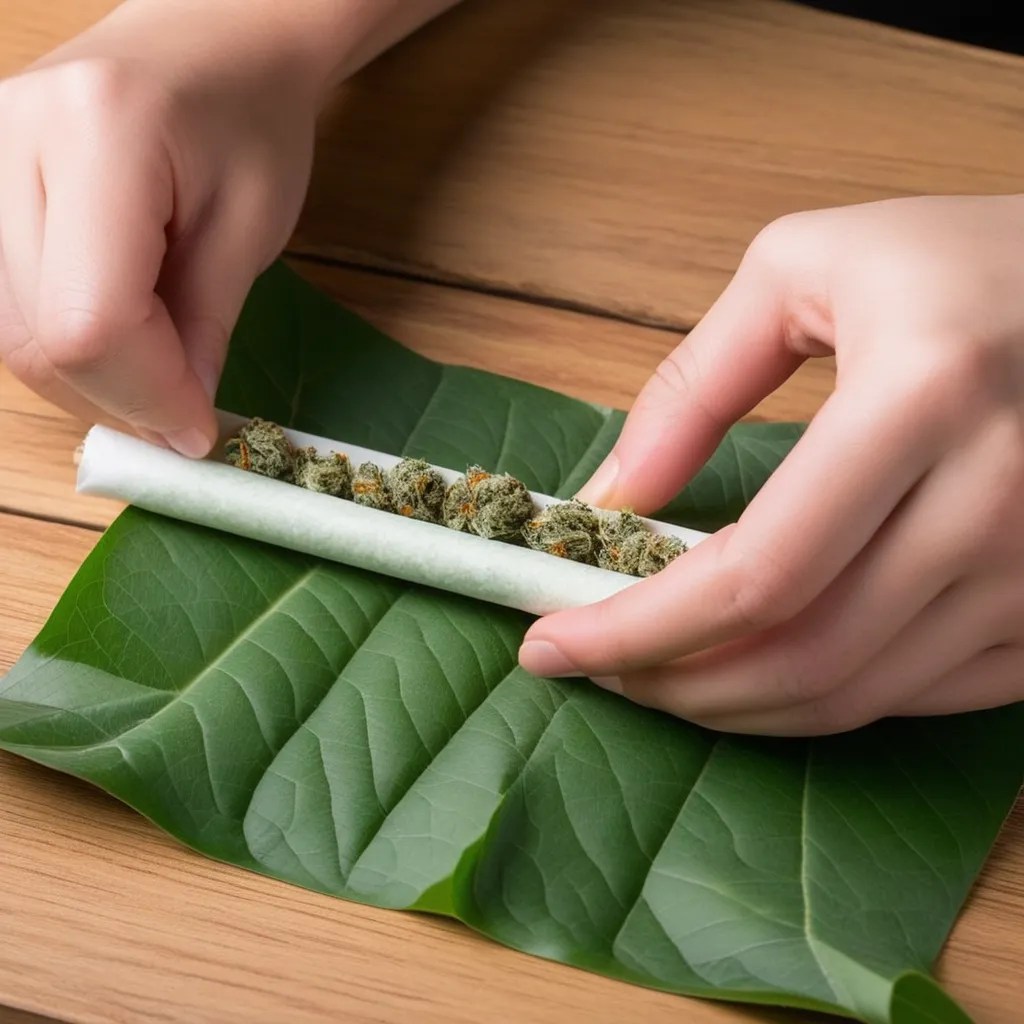
3. Even Distribution:
Distribute the ground herb along the paper, forming a line. Aim for an even density to ensure a balanced burn.
Personal Anecdote: The Crutch Chronicles
Early on, my crutches resembled miniature origami disasters. Over time, I learned the art of creating a sturdy crutch that elevated my joint game.
The Rolling Motion: Mastering the Tuck and Roll
1. Tuck and Shape:
Start rolling by tucking the side of the paper closest to you over the herb. Use your fingertips to shape the joint into a cylinder.
2. Lick and Seal:
Lick the adhesive edge of the rolling paper and seal your masterpiece. Ensure a snug fit, but not too tight – you want a smooth draw.
Personal Anecdote: The Sticky Situation
My early attempts at sealing the joint resembled a gluey mess. A friendly tip from a seasoned roller helped me discover the perfect balance between a tight seal and an effortless draw.
The Finishing Touch: Enjoying Your Creation
1. Pack the Ends:
Once sealed, use a small stick or a pen to pack the ends gently. This ensures an even burn and a well-formed joint.
2. Twist and Light Up:
Twist the end of your joint to secure the contents. Now, it's time to light up, relax, and enjoy the fruits of your rolling prowess.
Personal Anecdote: The Twist Triumph
In my early joint-rolling days, the twist often eluded me, resulting in some comical unraveling moments. A seasoned roller shared the secret twist technique that turned my joints into sturdy companions.
Conclusion: Rolling Into Relaxation
Rolling a joint is an art, a skill to be honed with practice and patience. Remember, everyone has their unique style, so embrace the process, enjoy the learning curve, and soon you'll be rolling joints that are not just smoke-worthy but a reflection of your laid-back expertise. Happy rolling!