how to roast garlic
Roasting Garlic Like a Kitchen Rockstar: A Flavorful Odyssey
Introduction: Unveiling the Magic of Roasted Garlic
Ah, garlic – the kitchen superhero that adds depth and flavor to our favorite dishes. But have you ever experienced the aromatic wonder of roasted garlic? If not, you're in for a treat! In this guide, we'll embark on a flavorful odyssey, teaching you how to roast garlic like a true kitchen rockstar. Get ready to elevate your culinary game!
The Garlic Bulb Chronicles: Selecting the Perfect Candidate
1. Choosing the Right Bulb:
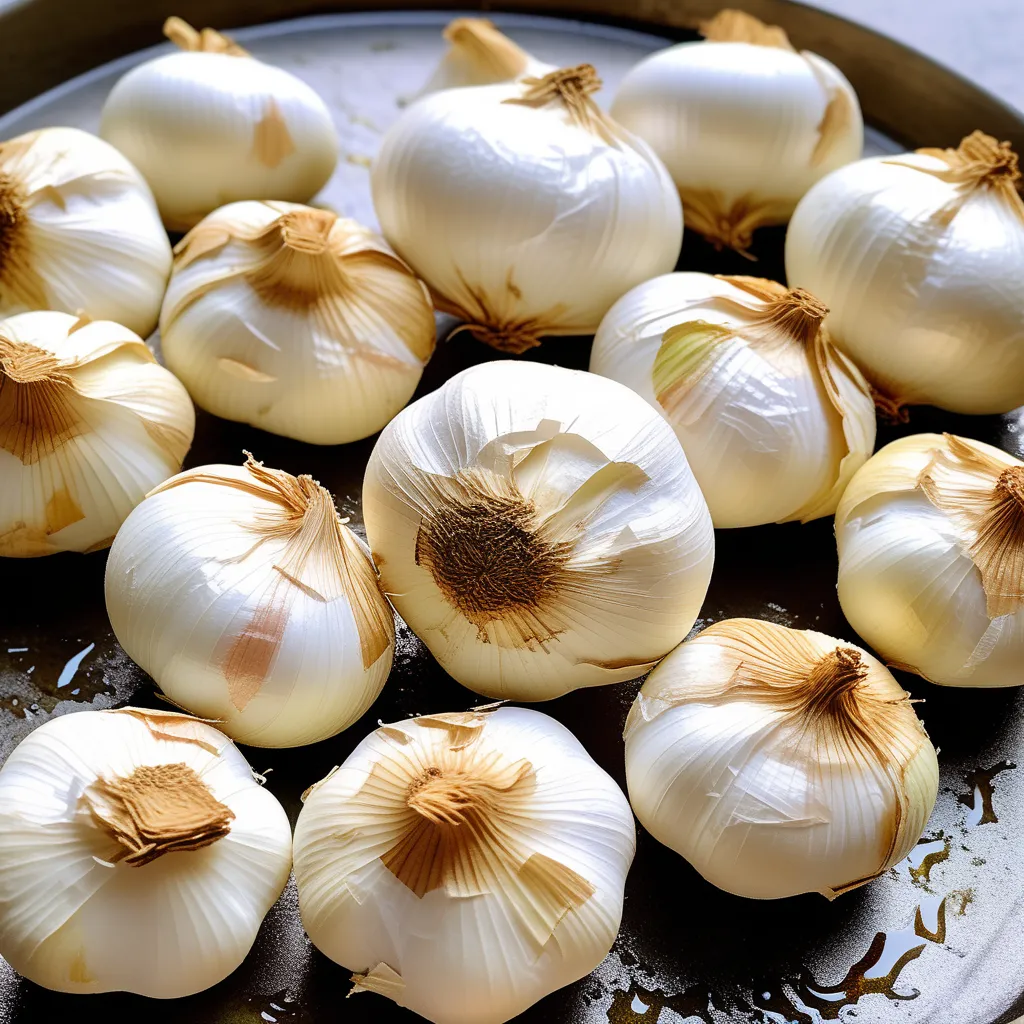
Start your garlic adventure with a fresh, firm bulb. Look for plump cloves and avoid any that feel soft or have sprouted green shoots.
Personal Anecdote: The Garlic Eureka Moment
Picture this: Sunday dinner, a recipe demanding roasted garlic, and me, a garlic novice. I learned the hard way that starting with a quality bulb is the key to garlic success.
Peeling 101: Liberating the Garlic Cloves
1. Cloves, Meet Knife:
Place a garlic bulb on your cutting board and carefully separate the cloves. Lay the flat side of a wide knife over each clove and give it a gentle press. This loosens the skin, making it a breeze to peel.
2. Shake and Roll:
For a hands-on approach, toss the cloves into a lidded container and give it a good shake. The friction will help shed the stubborn skins.
Personal Anecdote: The Shake and Peel Triumph
Late-night pasta cravings led me to the kitchen, contemplating a garlic-heavy dish. Enter the shake-and-roll technique, and suddenly, peeling garlic became oddly satisfying.
The Foil Nest: Preparing Your Garlic for Roasting
1. Trim the Top:
Slice off the top of each garlic bulb, exposing the cloves. This allows the aromatic magic to happen during roasting.
2. Drizzle and Wrap:
Place the trimmed bulbs on a sheet of aluminum foil. Drizzle them generously with olive oil, ensuring each clove gets a golden touch. Wrap the bulbs securely in the foil.
Personal Anecdote: The Olive Oil Extravaganza
Ever the enthusiast, I may have gone overboard with the olive oil drizzle once or twice. The result? Garlic bulbs bathed in liquid gold, delivering a rich, caramelized flavor.
Roasting Nirvana: Turning Garlic Into culinary Gold
1. Oven Oasis:
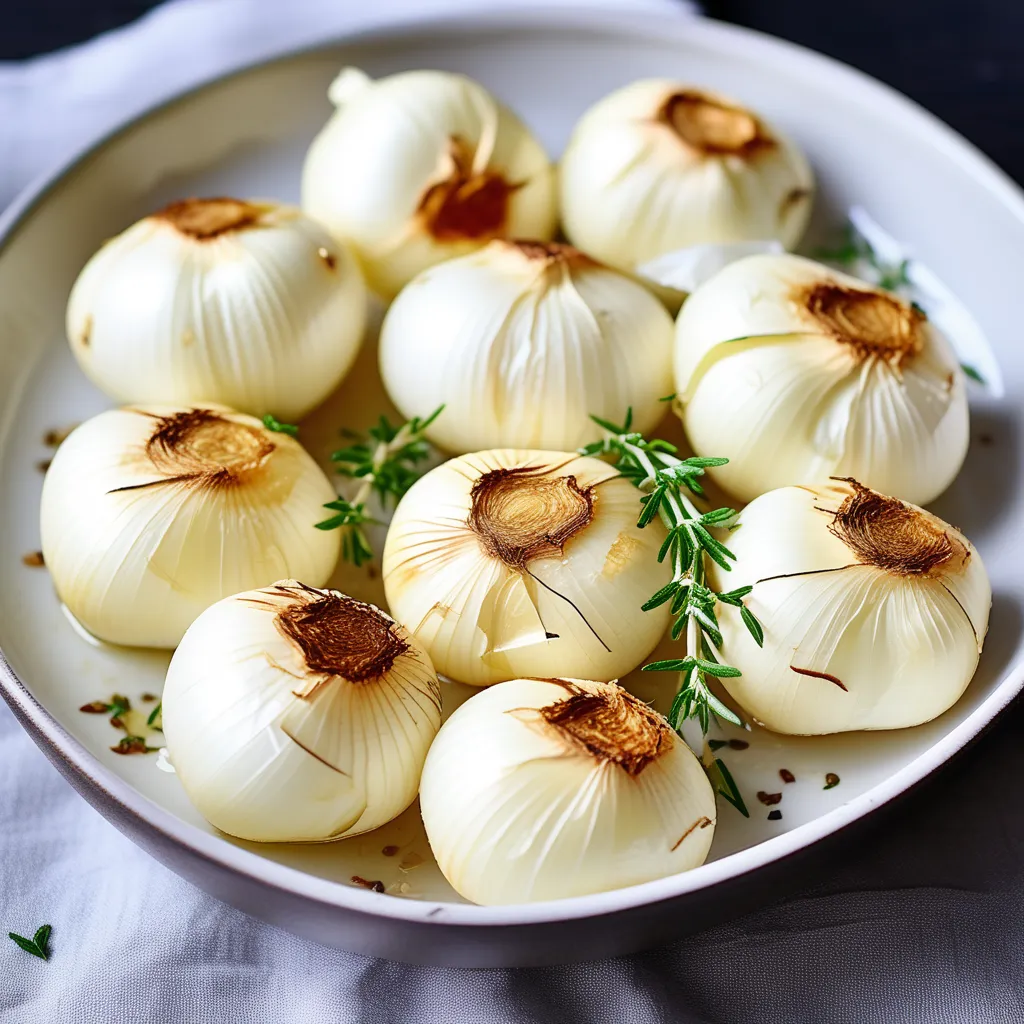
Preheat your oven to 400°F (200°C). Place the foil-wrapped garlic bulbs on a baking sheet and let them roast for about 30-40 minutes. You'll know they're ready when the cloves turn golden and soft.
2. Cool Down Moment:
Allow the roasted garlic to cool slightly before handling. The cloves will transform into a spreadable, heavenly consistency.
Personal Anecdote: The Roasting Revelation
Impatiently waiting for the garlic to roast, I was greeted by an aroma that signaled culinary victory. The golden cloves emerged, and my kitchen felt like a roasted garlic haven.
Culinary Delights: Embracing Roasted Garlic in Your Dishes
1. Spreadable Bliss:
Squeeze the roasted cloves out of their skins, creating a velvety garlic paste. Spread it on bread, mix it into mashed potatoes, or elevate your sauces – the possibilities are endless.
2. Freezing Magic:
Roast a batch, freeze the cloves individually on a tray, then store them in a bag. This way, you'll always have a stash of roasted garlic ready for action.
Personal Anecdote: The Freezer Rescue
Midweek dinner chaos ensued, and my frozen roasted garlic came to the rescue. Within minutes, my pasta sauce transformed into a gourmet masterpiece.
Conclusion: From Kitchen Novice to Garlic Maestro
In the realm of culinary delights, roasting garlic is a game-changer. With a quality bulb, a bit of olive oil extravagance, and some oven magic, you'll soon find yourself transforming ordinary dishes into flavor-packed masterpieces. So, gear up, embrace the garlic odyssey, and let your kitchen resonate with the aromatic symphony of roasted garlic!