how to make slime
Title: The Art of Goo: A Fun Guide to Making Slime at Home
Introduction:
Hey DIY enthusiasts and budding scientists! If you've ever been mesmerized by the colorful, stretchy wonder that is slime and wondered, "How do I make this at home?" – you're in for a treat. I vividly remember the first time I ventured into the world of slime-making, and it was a gooey journey filled with excitement and experimentation. Let's dive into the art of making slime and unlock the secrets to creating your very own ooey-gooey masterpiece.
The Basics of Slime: What You Need to Know
Decoding the Goo
The Magic Ingredients
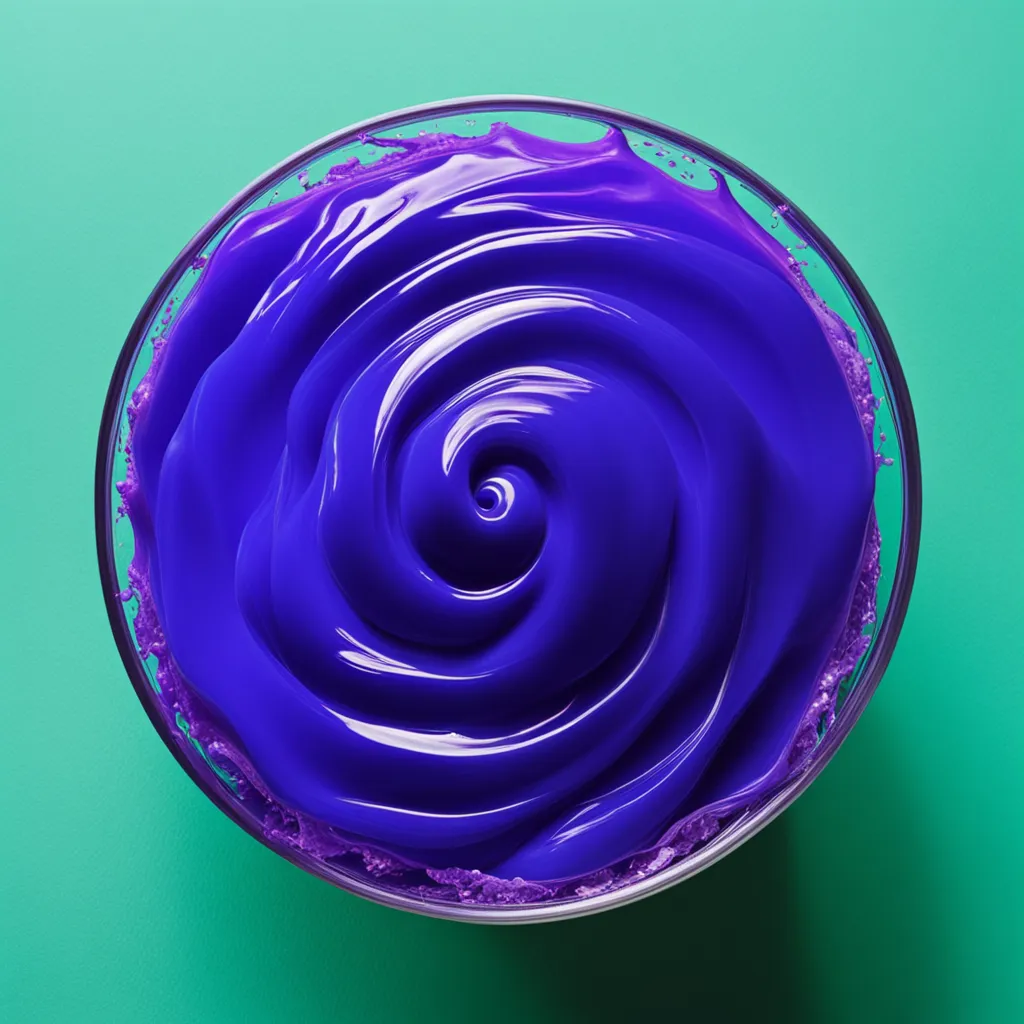
Making slime requires a few key ingredients that come together in a delightful chemical dance. The basic trio includes glue, a slime activator, and any optional add-ins like glitter or color.
Personal Anecdote: My first attempt involved a frantic search for glue in the kitchen. Eventually, I discovered an old bottle tucked away, ready to transform into slime.
The Glue – Foundation of Slime
Start with a base of clear or white school glue. The glue provides the stretchy, gooey structure that makes slime so satisfying.
Personal Anecdote: I once used glitter glue, thinking it would add sparkle to the slime. The result? A dazzling, shimmering creation that became an instant favorite.
Activating the Goo – The Secret Sauce
The magic happens when you introduce a slime activator to the glue. Common activators include borax, contact lens solution, or a mixture of baking soda and saline solution.
Personal Anecdote: Borax was my go-to activator until I realized that contact lens solution was a game-changer. It's all about finding the right balance.
Crafting Your Slime Masterpiece
The Gooey Process
Step 1 – The Glue Foundation
Begin by pouring your chosen glue into a mixing bowl. You can start with about 4-6 ounces, depending on how much slime you want to make.
Personal Anecdote: My first slime creation involved a bit of guesswork. I poured glue until it "felt right." Over time, I learned the importance of precision.
Step 2 – Adding Optional Extras
This is where you can get creative! Add in any optional extras like glitter, food coloring, or small beads to customize the look and feel of your slime.
Personal Anecdote: I once went overboard with glitter, and the result was a dazzling, sparkly concoction that became the star of my slime collection.
Step 3 – The Activating Moment
Now comes the crucial step – activating the slime. Add your chosen activator slowly while stirring continuously until you see the slime start to form.
Personal Anecdote: My first time with contact lens solution felt like a revelation. The slime came together seamlessly, and the process became more intuitive.
Step 4 – Knead and Play
Once your slime has formed, take it out of the bowl and knead it on a clean surface. The more you knead, the better the consistency becomes.
Personal Anecdote: Kneading the slime became a therapeutic activity for me. It's oddly satisfying to feel it transform under your fingertips.
Troubleshooting and Tips
Perfecting Your Goo
Too Sticky? Add More Activator
If your slime is too sticky, add a bit more activator. Be cautious not to over-activate, as this can lead to a stiff slime.
Personal Anecdote: My initial fear of sticky slime led to over-activation. It took a few tries to find the right balance and achieve that perfect stretch.
Experiment with Consistency
Slime can be thick and glossy or thin and drizzly. Experiment with the amount of glue and activator to find the consistency you prefer.

Personal Anecdote: I discovered that different ratios create distinct slime textures. It's like finding the perfect recipe for your favorite dish.
Conclusion: Dive Into the Gooey Fun
Making slime is not just a creative experiment; it's a journey into the gooey, colorful world of DIY delight. As you mix and mold, don't be afraid to get messy and embrace the unpredictable nature of slime-making. Whether you're a novice or a seasoned slime enthusiast, each batch is a unique creation that reflects your style and creativity. So, gather your ingredients, unleash your imagination, and let the gooey fun begin!<