How to Make Clay Beads: A Creative and Fun Project
How to Make Clay Beads: A Creative and Fun Project
Creating clay beads is a delightful and creative activity that can be enjoyed by craft enthusiasts of all ages. Whether you’re making jewelry, decorations, or simply exploring your artistic side, making clay beads offers endless possibilities for creativity. Here’s a guide on how to make clay beads, along with answers to some frequently asked questions.
Materials Needed
- Polymer clay in various colors
- A bead piercing tool or toothpick
- A knife or clay cutter
- An oven for baking the clay
- Sandpaper (optional)
- Clear glaze or varnish (optional)
Steps to Make Clay Beads
- Condition the Clay: Start by conditioning the clay to make it soft and pliable. You can do this by kneading the clay with your hands.
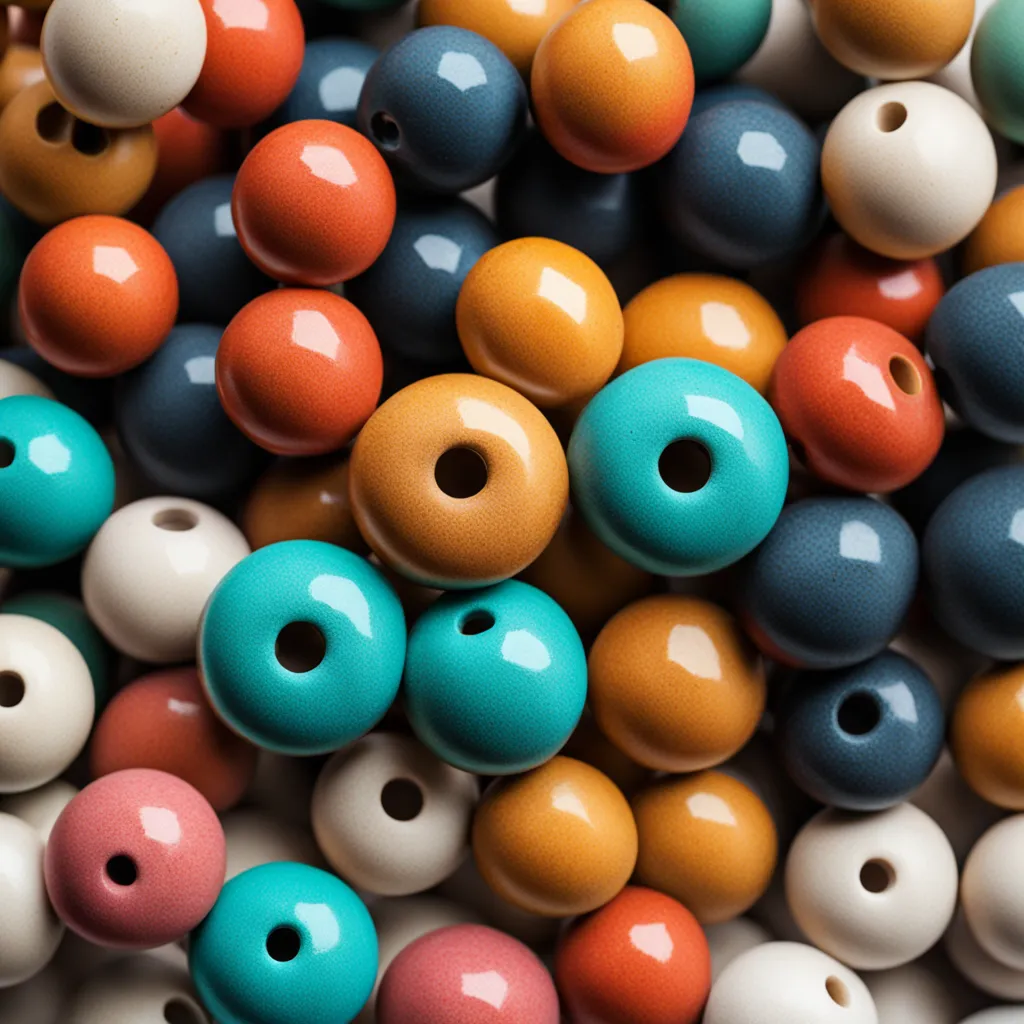
- Shape the Beads: Roll the clay into small balls to form beads. You can also create different shapes like cubes, ovals, or even more intricate designs.
- Add Texture and Designs: Use tools to add texture or design to your beads. You can use anything from a toothpick to specially designed clay tools to make patterns.
- Pierce the Beads: Once your beads are shaped, use a bead piercing tool or toothpick to make a hole through each bead. Ensure the hole is big enough for your threading material.
- Bake the Beads: Follow the clay manufacturer’s instructions to bake your beads in the oven. This process hardens the beads and makes them durable.
- Sand and Finish the Beads: After the beads have cooled, you can sand them for a smooth finish. Then apply a glaze or varnish for a glossy look, if desired.
Tips for Successful Clay Bead Making
- Experiment with mixing clay colors for unique effects.
- Ensure the bead holes are clean and free of clay residues before baking.
- Let the beads cool completely after baking before handling.
FAQs
- Q: What kind of clay is best for making beads?
- A: Polymer clay is ideal for bead making due to its durability and ease of use. It comes in a variety of colors and can be baked in a home oven.
- Q: Can I air-dry the clay beads instead of baking them?
- A: Polymer clay must be baked to harden. Air-dry clay can be used, but it won’t be as durable as baked polymer clay.
- Q: How long should I bake the clay beads?
- A: Baking times vary depending on the clay brand and the size of the beads. Generally, it ranges from 10 to 30 minutes at 275°F (135°C), but always check the clay’s packaging for specific instructions.
- Q: Do I need to glaze the beads after baking?
- A: Glazing is optional. It adds a shiny finish and can make the beads more durable.
Conclusion
Making clay beads is a simple, enjoyable process that allows for a lot of creativity. Whether you’re a beginner or an experienced crafter, working with clay offers a therapeutic and artistic outlet. From selecting colors and shapes to adding your personal touch with designs and textures, each step in the bead-making process is an opportunity to express your creativity. So grab some clay and start rolling, and soon you’ll have a beautiful collection of handmade beads ready for your next project!