how to make caramel
Crafting Sweet Perfection: A Home Baker's Guide to Making Caramel
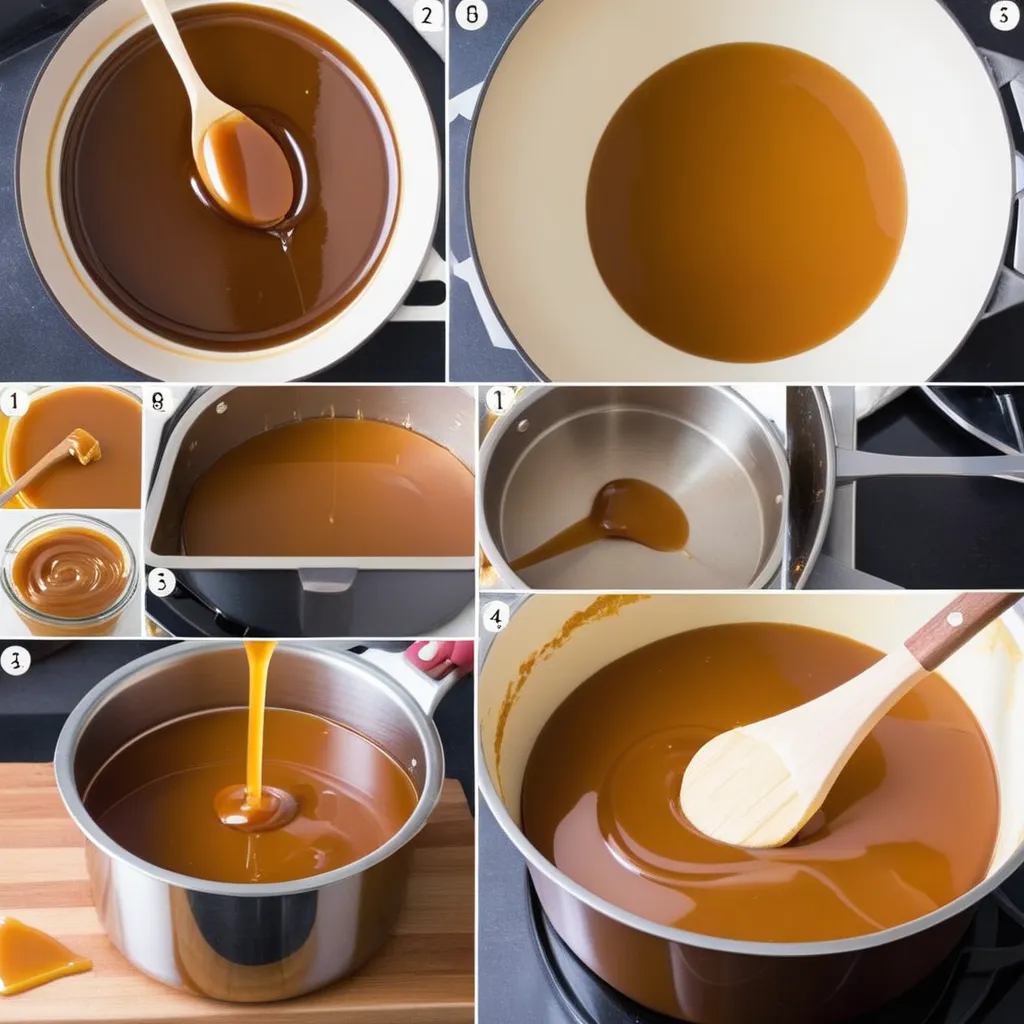
Caramel—the golden, gooey goodness that elevates desserts to heavenly heights. Have you ever dreamed of making your own caramel, adding a personal touch to your sweet creations? Today, we're diving into the delightful world of caramel-making, and trust me, it's easier than you think.
The Caramel Chronicles: Understanding the Sweet Alchemy
1. Sugar, Your Caramel Canvas
The star of the show is sugar. Use granulated sugar for a classic caramel, or experiment with brown sugar for a deeper flavor. This is where the magic begins.
2. Anecdote - Grandma's Secret
I still remember the first time I tried my hand at caramel. My grandma, the baking maestro, whispered her secret: "Patience, dear. Let the sugar dance in the pan, and magic will happen." Little did I know, her wisdom would become my caramel-making mantra.
3. Low and Slow Wins the Race
Caramel-making is a slow dance. Start with low to medium heat, allowing the sugar to gradually melt. Rushing this step might lead to burnt sugar, and trust me, that's not the aroma you're going for.
DIY Caramel: A Step-by-Step Symphony
1. Swirl, Don't Stir
As the sugar begins to melt, resist the urge to stir. Instead, gently swirl the pan to ensure even heating. Stirring may cause crystallization, leading to a grainy texture.
2. Anecdote - The Swirl Dance
I vividly recall my first swirl dance. Mesmerized by the swirling sugar in the pan, I felt like a caramel magician. It was in those moments of patience that my caramel dreams took shape.
3. Color is Key
Watch the color closely. For a light caramel, aim for a golden hue. If you prefer a deeper, richer flavor, let it dance into amber territory. But be cautious—a few seconds can turn golden into burnt.
Flavorful Twists: Elevating Your Caramel Game
1. Creamy Goodness: Adding Butter and Cream
When the sugar reaches your desired color, add butter and cream. This creates a luscious, velvety texture. The sizzle as they meet is music to a caramel-maker's ears.
2. Anecdote - Butter Bliss
The first time I added butter to my caramel, the kitchen filled with the irresistible aroma of melted butter meeting sugar. That moment marked the birth of my signature caramel sauce.
3. Salted Splendor
For a trendy twist, add a pinch of sea salt. The marriage of sweet and salty creates a symphony on your taste buds. It's a flavor journey that'll keep you coming back for more.
Storing Your Liquid Gold
1. Jar it Up
Once your caramel has cooled slightly, transfer it to a jar. A mason jar adds a rustic charm, making it a delightful homemade gift for fellow dessert enthusiasts.
2. Anecdote - Gift of Sweetness
Inspired by a friend's birthday, I jarred my caramel, tied a ribbon, and gifted it with a note: "Sweet moments shared are the best gifts." It became a tradition for celebrations.
3. Fridge-Friendly
Store your caramel in the fridge for longevity. But let's be honest, it rarely lasts long. The temptation to drizzle it over ice cream or dip apples into it is just too strong.
The Sweet Victory of Homemade Caramel
Crafting your own caramel is a journey of sugar, heat, and patience—a journey that leads to a jar full of liquid gold. Whether you're a novice or a seasoned home baker, the satisfaction of creating this sweet masterpiece is unparalleled. So, gather your ingredients, channel your inner caramel magician, and let the sweet alchemy begin. Your desserts will thank you, and your kitchen will forever be filled with the aroma of sweet victory. Happy caramel-making!