How to Make a Planter Box: A DIY Guide for Gardeners
How to Make a Planter Box: A DIY Guide for Gardeners
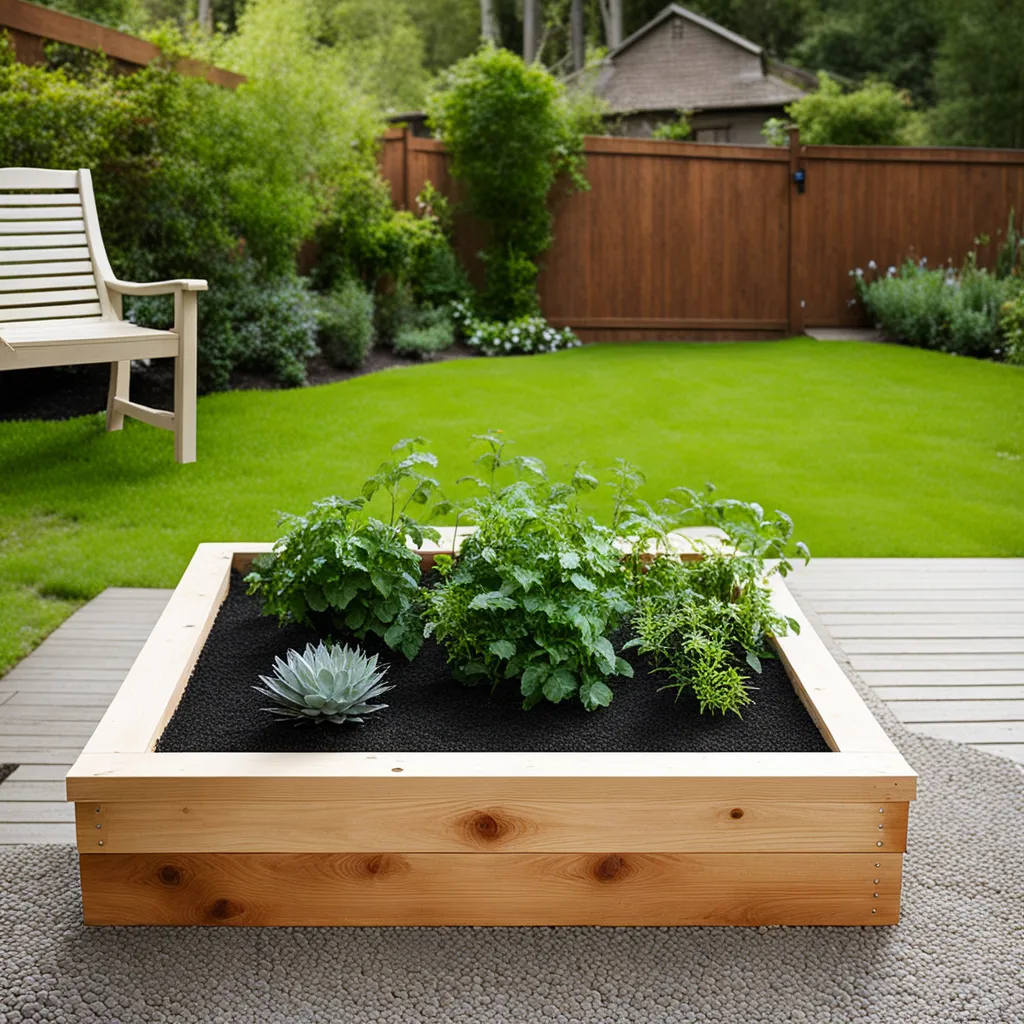
Creating a planter box is an excellent way to bring a touch of gardening to any space, be it a balcony, patio, or a corner of your yard. Not only do they add aesthetic appeal, but they also provide a perfect solution for growing plants in limited spaces. This 500-word guide will walk you through the process of making a basic wooden planter box, ideal for growing a variety of plants.
Materials and Tools Needed
To start, gather the necessary materials and tools. You will need:
- Wood planks (cedar or redwood are good options due to their resistance to rot)
- Saw (hand saw or power saw)
- Drill
- Screws
- Wood glue (optional)
- Sandpaper
- Ruler or tape measure
- Pencil
- Landscape fabric
- Staple gun
- Soil and plants
Designing Your Planter Box
First, decide on the size and shape of your planter box. A standard size is 2 feet by 4 feet, but you can adjust the dimensions based on your available space and needs. Sketch out your design, including measurements for each side, the base, and the height of the box.
Cutting the Wood
Using your measurements, cut the wood planks to the required lengths. You will need four long pieces for the sides, four shorter pieces for the ends, and several pieces for the bottom. Ensure all cuts are straight and of equal length.
Assembling the Sides and Ends
Take two side planks and two end pieces to form a rectangular frame. Drill pilot holes to prevent the wood from splitting, then screw the sides and ends together. Repeat this process to create a second rectangular frame for the other side of the box.
Attaching the Bottom
Cut additional planks for the bottom of the box. These should be slightly shorter to fit inside the frame. Drill pilot holes and screw the bottom planks to the side frames. Leave small gaps (about 1/2 inch) between the planks for drainage.
Sanding and Finishing
Once your box is assembled, sand all surfaces to remove rough edges and splinters. This step is especially important if the planter will be placed in an area where people might touch it, like a patio or balcony.
Adding Landscape Fabric
To prevent soil from falling through the drainage gaps, line the inside of the box with landscape fabric. Cut the fabric to size and staple it to the inside edges of the box. This fabric allows water to drain while keeping the soil in place.
Painting or Sealing the Wood (Optional)
If desired, you can paint or seal the wood for additional weather resistance and aesthetic appeal. Choose a paint or sealant that is safe for plants and suitable for outdoor use.
Filling with Soil and Planting
Once your box is ready, fill it with a good-quality potting mix. Then, plant your chosen flowers, herbs, or vegetables. Be sure to consider the sunlight needs of your plants when placing the planter box.
Maintenance Tips
Regularly water your plants, considering the needs of the specific varieties you've chosen. Also, periodically check the planter box for any signs of wear or damage, especially if it is not made from weather-resistant wood.
Conclusion
Building a planter box is a simple and satisfying project that can enhance your outdoor or indoor space. With basic woodworking skills and some creativity, you can create a functional and beautiful planter box that showcases your plants and adds character to your home. Whether you are an experienced gardener or a beginner, a diy planter box is a great way to enjoy the pleasures of gardening.