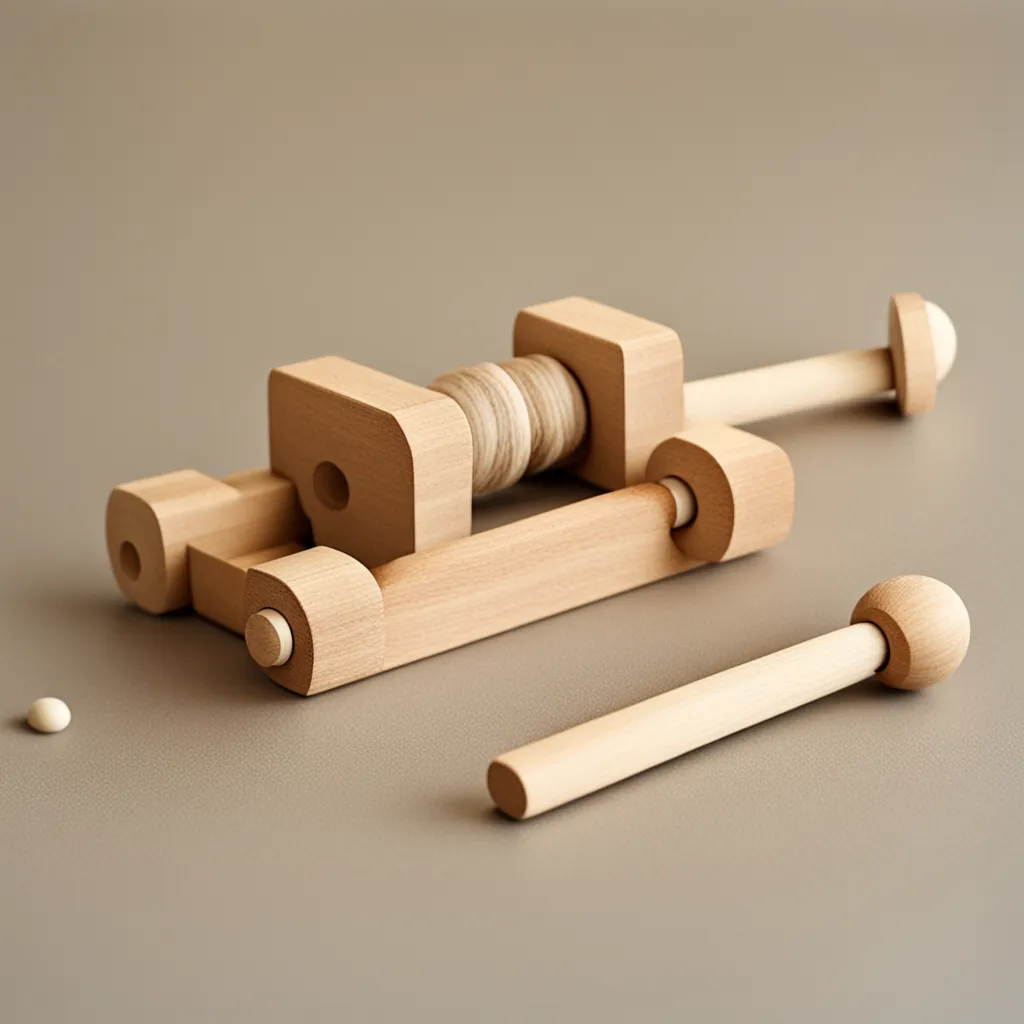
How to Make a Mini Catapult: A Fun and Easy DIY Project
How to Make a Mini Catapult: A Fun and Easy DIY Project
Creating a mini catapult can be a fun and educational DIY project, perfect for kids and adults alike. Not only does it offer an opportunity to explore basic physics concepts like energy and motion, but it also provides a hands-on experience in building and engineering. In this 500-word guide, we’ll walk you through the steps to make a simple yet effective mini catapult using everyday materials.

Materials Needed
- 7 craft sticks or popsicle sticks
- 4-5 rubber bands
- A plastic spoon or small cup
- Glue (optional)
- Small items for launching (like mini marshmallows or pom-poms)
Step 1: Building the Base
The foundation of your catapult will be a stack of craft sticks. Start by stacking five craft sticks and binding them together at both ends with rubber bands. This stack will form the sturdy base of your catapult.
Step 2: Creating the Fulcrum
The fulcrum is the pivot point of the catapult. Take two more craft sticks and stack them together. Secure one end with a rubber band. The other end should be free to fan out slightly, creating a V-shape. This V-shape is essential as it provides a grip and a pivot for the arm of the catapult.
Step 3: Assembling the Frame
Now, it’s time to combine the base and the fulcrum to form the frame of your catapult. Open the two craft sticks in the V-shape and slide the stack of five sticks between them. The stack should be closer to the secured end of the V-shaped sticks. Secure the two parts together where they intersect with another rubber band.
Step 4: Attaching the Spoon
The spoon will act as the bucket of your catapult, holding whatever you choose to launch. Position the spoon or small cup at the free end of the V-shaped sticks (the end without the rubber band). If you’re using a spoon, you can secure it to the craft stick with a rubber band. If it doesn’t hold, you can reinforce it with some glue.
Step 5: Reinforcing the Structure
If your structure feels flimsy, reinforce it by adding more rubber bands or adjusting the existing ones to ensure everything is tightly secured. The goal is to have a sturdy base that can withstand the motion of launching.
Step 6: Testing Your Catapult
Now that your catapult is built, it’s time to test it. Place a small, light object, like a mini marshmallow or a pom-pom, in the spoon. Hold down the base with one hand, pull down the spoon with the other, then release to launch the object. Experiment with different angles and levels of force to see how they affect the launch.
Safety Tips
- Always point the catapult away from people and fragile objects.
- Do not launch hard or sharp objects.
- Supervise children during both the building and playing process.
Conclusion
Building a mini catapult is more than just a craft project; it’s an educational experience that teaches principles of physics in an engaging way. It encourages problem-solving, creativity, and hands-on learning. Once completed, the catapult can provide hours of entertainment, and it can be a great tool for learning about history and ancient engineering. So gather your materials, enjoy the building process, and get ready to launch into some fun and learning!