how to make a milkshake
Crafting Delight: A Guide on How to Make a Milkshake
Milkshakes—the epitome of creamy, dreamy indulgence. Whether you're nostalgic for a childhood favorite or just craving a cold treat, making the perfect milkshake is an art worth mastering. Join me on a journey where we'll blend together tips, tricks, and a sprinkle of personal tales to craft a milkshake that'll have you sipping bliss.
The Essentials for a Heavenly Milkshake
1. Select Your Base: Ice Cream Bliss
The heart and soul of a milkshake lie in the ice cream. Choose a high-quality vanilla ice cream as your base. I vividly remember the first time I tried making a milkshake with a premium vanilla bean ice cream—it set the stage for a richness that made all the difference.
2. Pick Your Milk Wisely: Creamy Consistency
For a luscious texture, select the right milk. Whole milk or even better, whole-fat dairy, adds a creaminess that takes your milkshake to a whole new level. My experiments with different milk varieties showed that whole milk creates a luxurious consistency that's hard to beat.
Crafting Your Milkshake Masterpiece
3. Flavorful Additions: Go Beyond Vanilla
While vanilla is a classic, don't hesitate to experiment with flavors. One memorable creation involved adding a scoop of peanut butter and a drizzle of chocolate syrup to my vanilla base. The result? A peanut butter chocolate delight that became an instant favorite.
4. The Magic of Mix-Ins: Tantalize Your Taste Buds
Mix-ins elevate your milkshake game. From crushed cookies to fresh fruit chunks, the options are endless. I discovered that incorporating a handful of crushed malted milk balls provided a delightful crunch in every sip, transforming a regular shake into a textured marvel.
Achieving the Perfect Blend
5. Blending Techniques: Smooth and Creamy
The secret to a perfect milkshake lies in the blending. Start with a few scoops of ice cream, add milk gradually, and blend until smooth. I learned the hard way that adding too much milk too quickly can lead to a thin consistency. Patience is key—blend until you achieve that velvety, creamy perfection.
6. Experiment with Thickness: Customization is Key
Tailor the thickness to your liking. If you prefer a thicker shake, use less milk. For those who enjoy a sippable consistency, add a bit more milk. I found that adjusting the thickness based on my mood—whether I wanted to sip or spoon—made each milkshake experience uniquely satisfying.
Presentation and Garnishes
7. Choose the Right Glass: Aesthetic Pleasure
Presentation matters. Pour your milkshake into a classic milkshake glass or a mason jar for a touch of nostalgia. I discovered that the right glass enhances the overall experience, turning a simple treat into a visual delight.
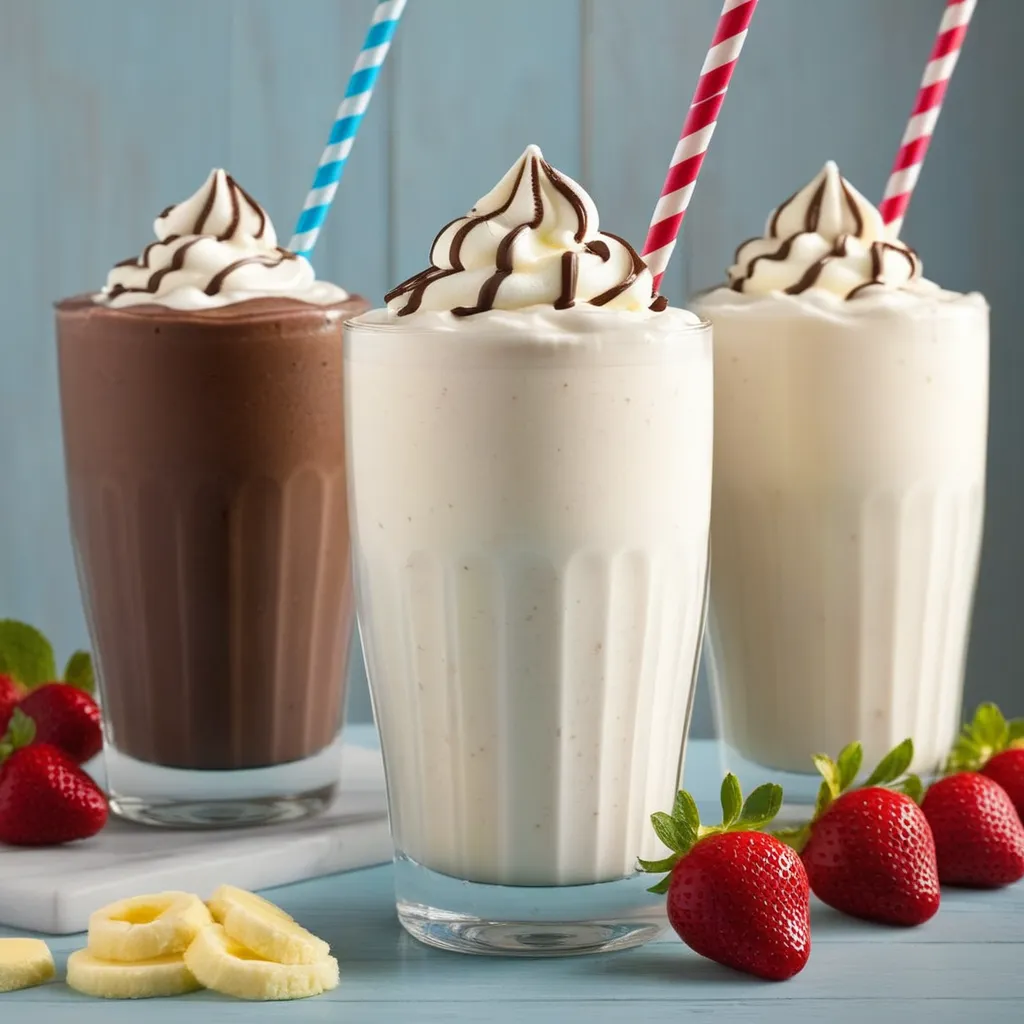
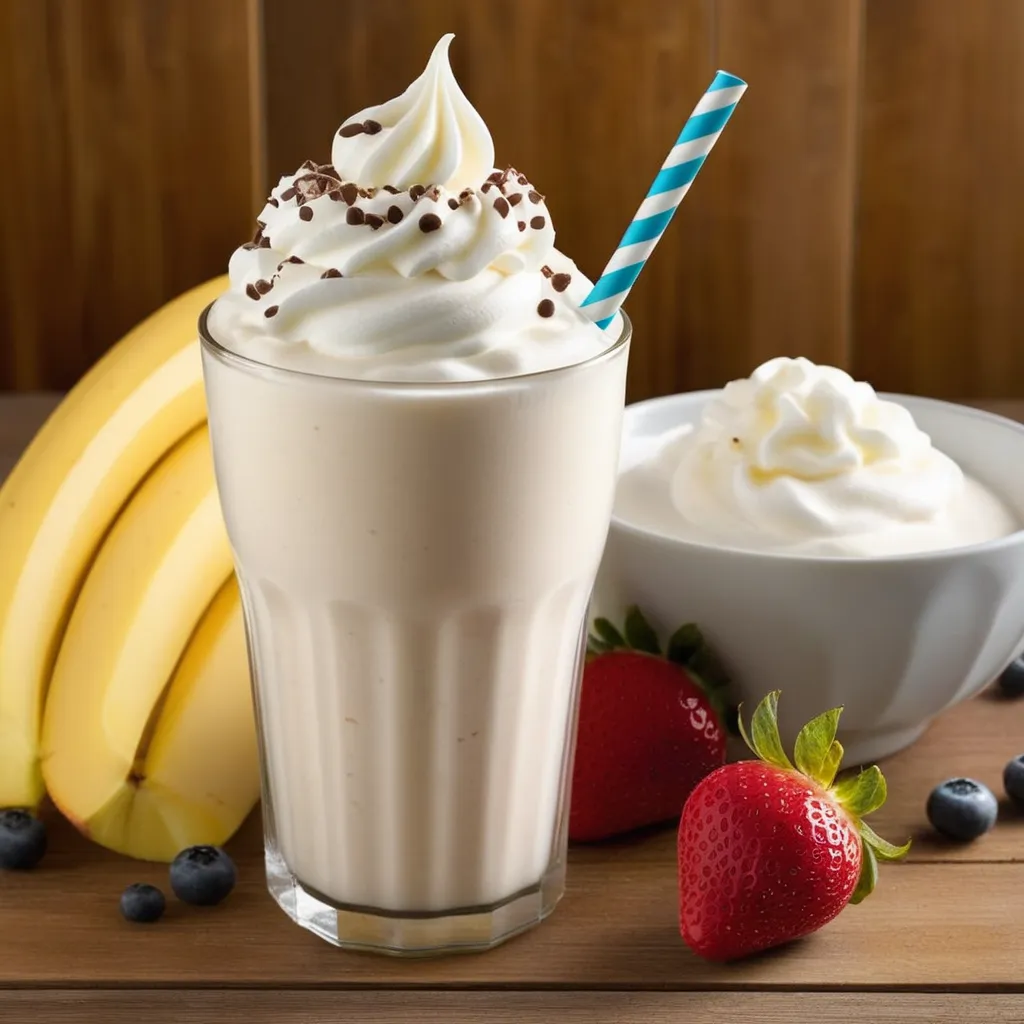
8. Top It Off: Whipped Cream and More
No milkshake is complete without toppings. A dollop of whipped cream, a drizzle of chocolate syrup, or a sprinkle of chopped nuts—all are welcome additions. I remember creating a banana split-inspired milkshake, complete with whipped cream and a cherry on top, turning a casual treat into a mini celebration.
Personal Anecdote: Sipping into Sweet Memories
Crafting the perfect milkshake has become a sweet tradition in my life. From lazy afternoons to celebratory gatherings, each milkshake creation is a sip into a memory. There's something magical about the process—the whir of the blender, the clink of the ice cream scooper, and the anticipation of that first delightful sip.
Wrapping Up: Sip, Savor, and Repeat
Making a milkshake is more than blending ingredients; it's a personalized journey of flavors and textures. Sip, savor, and repeat until you find your perfect blend. Whether you stick to the classics or venture into creative territory, the joy of a well-crafted milkshake is undeniable. Cheers to crafting your own milkshake masterpiece and indulging in the simple pleasure of a cold, creamy treat.