how to draw eyes
Unveiling the Magic: A Beginner's Guide on How to Draw Eyes
Introduction
Embarking on the journey of drawing facial features is an exciting venture. In this guide, we'll focus on the captivating process of drawing eyes. I'll share some personal anecdotes to make your artistic exploration more enjoyable.
Step 1: Gather Your Art Supplies
Before diving into the world of eye-drawing, gather your essential art supplies—paper, pencils, erasers, and perhaps a trusty sketchbook. Creating your comfortable space can significantly enhance the joy of the artistic process.
Personal Anecdote: The Comfort of My Art Nook
I've always found solace in having a dedicated creative space. Whether it's a cozy nook or a specific chair, having a comfortable spot enhances the magic of the artistic process.
Step 2: Sketch the Basic Eye Shape
Begin by lightly sketching the basic shape of the eye. Keep it simple at first, focusing on the almond or round shape that captures the essence of the eye.
Personal Anecdote: The Challenge of Symmetry
When I started drawing eyes, achieving symmetry was a challenge. Don't be discouraged if one eye looks different from the other—it's all part of the learning process.
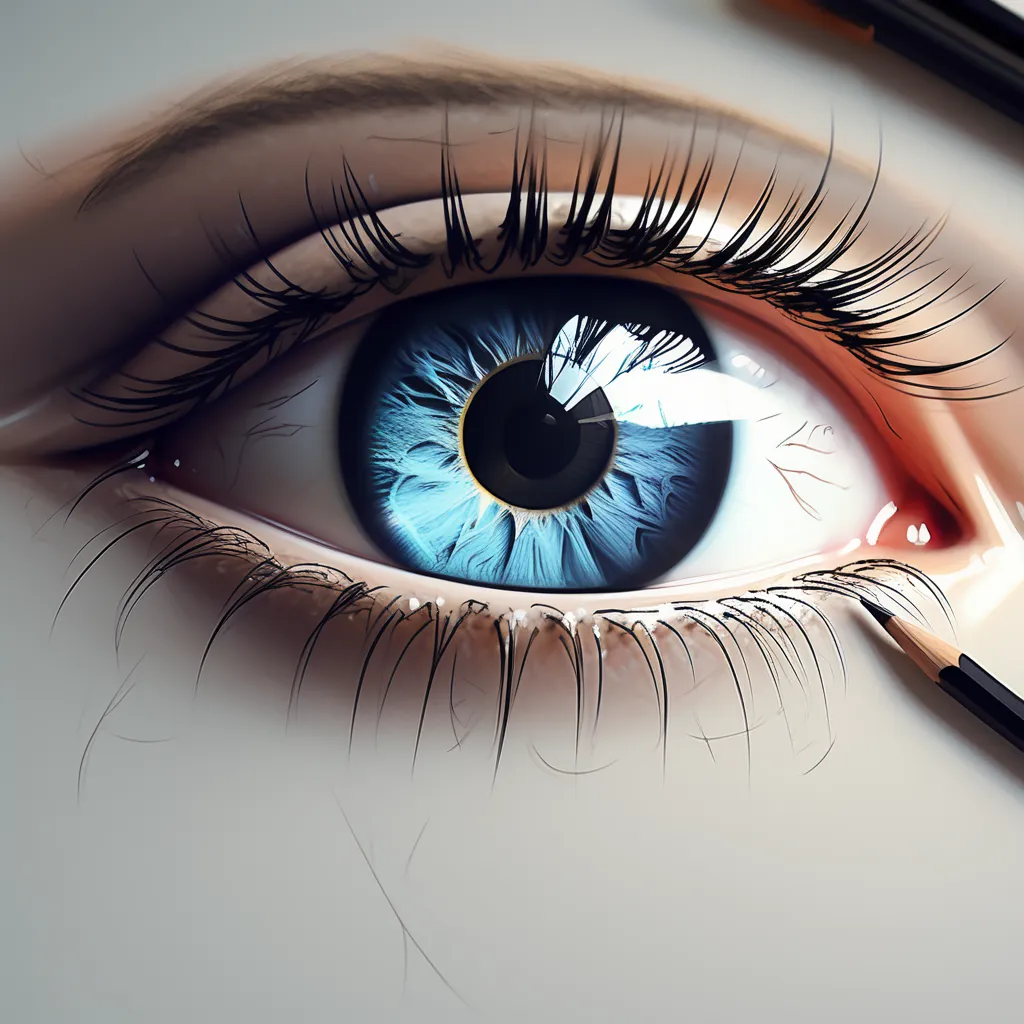
Step 3: Define the Iris and Pupil
Add details to your eye sketch by defining the iris and pupil. Pay attention to the size and placement of these elements, as they contribute to the expressiveness of the eyes.
Personal Anecdote: Eyes as Windows to the Soul
As I practiced, I realized the eyes truly are windows to the soul. The way you depict the iris and pupil can convey a range of emotions and add depth to your drawing.
Step 4: Add Eyelashes and Eyebrows
Enhance the beauty of your eyes by adding eyelashes and eyebrows. Experiment with different styles and lengths to find what suits your artistic vision.
Personal Anecdote: The Expressive Power of Eyelashes
Drawing eyelashes opened up a world of expressiveness. Long, sweeping lashes can add drama, while shorter ones provide a more natural look. It's amazing how small details make a big impact.
Step 5: Shade and Add Highlights
Bring your eyes to life by introducing shading. Consider the direction of light and add shadows accordingly. Don't forget to add highlights to create a glimmering effect.
Personal Anecdote: Playing with Light and Shadow
Shading and highlights became my favorite part of the process. Playing with light and shadow adds a three-dimensional quality, making the eyes pop off the page.
Step 6: Refine and Adjust
Take a step back and evaluate your drawing. Refine any lines, adjust proportions, and fine-tune the details. This step allows you to make the eyes harmonize with the overall facial structure.
Personal Anecdote: The Art of Patience, Revisited
Refining my eye drawings taught me the art of patience. Small adjustments make a significant difference, transforming a good drawing into a great one.
Tips for Aspiring Artists
Study Real Eyes
Take time to observe real eyes. Study the variety of eyes you encounter in everyday life. This observation will enrich your understanding of different eye shapes, colors, and expressions.
Personal Anecdote: Candid Gaze Appreciation
People-watching became an adventure in appreciating the candid gazes of those around me. Parks, coffee shops, and public spaces turned into captivating classrooms where I observed the diversity of eyes in the real world.
Conclusion
Drawing eyes is a magical journey that requires practice, observation, and a sprinkle of creativity. Enjoy the process, appreciate the expressiveness of each pair of eyes, and let your artistic skills flourish. Happy sketching!