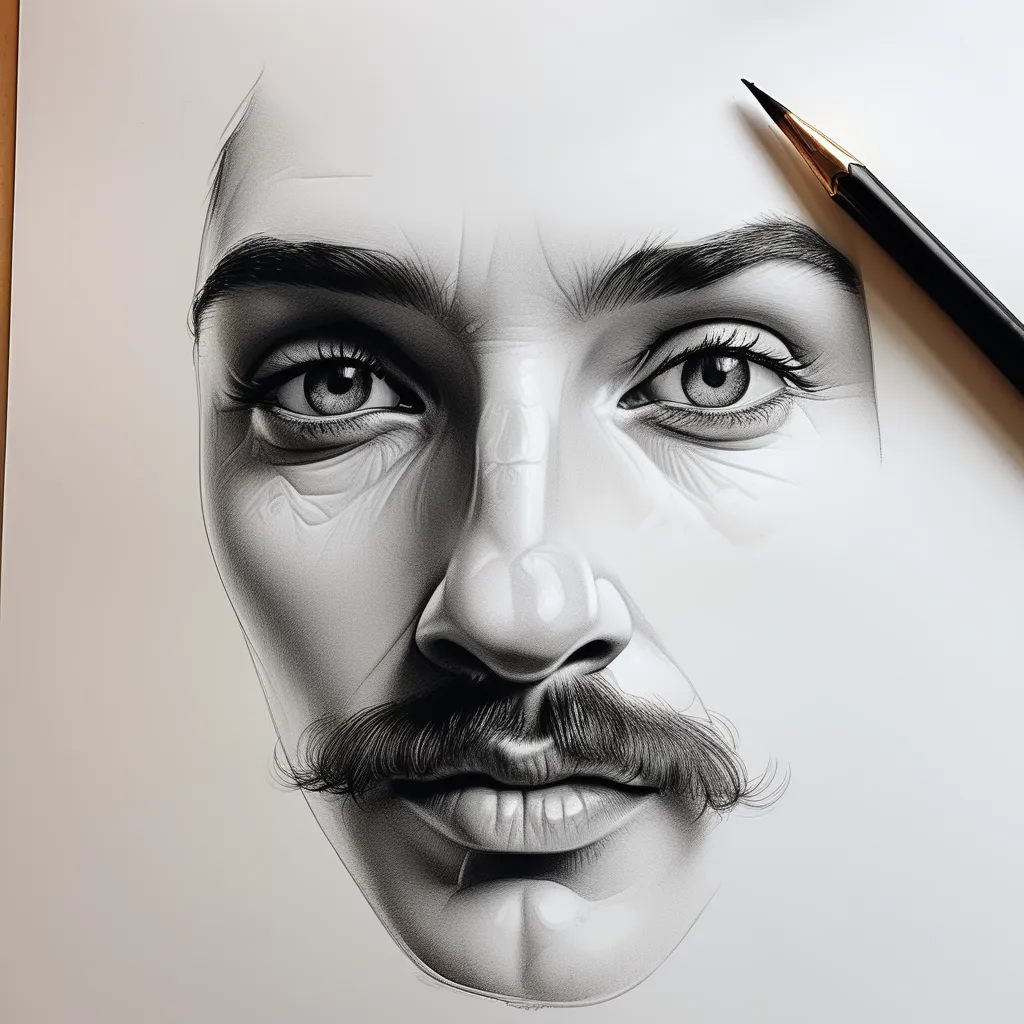
how to draw a nose
Mastering the Art: A Friendly Guide on How to Draw a Nose
Introduction
Embarking on the journey of drawing human features can be both exciting and challenging. In this guide, we'll delve into the step-by-step process of drawing a nose, sprinkled with personal anecdotes to make your artistic endeavor more enjoyable.
Step 1: Gather Your Supplies
Before diving into the artistic process, gather your basic drawing supplies—paper, pencils, erasers, and perhaps a comfortable chair. Remember, you don't need anything fancy to get started.
Personal Anecdote: The Comfort of My Creative Corner
I've always found solace in having a dedicated creative space. Whether it's a cozy nook or a specific chair, having a comfortable spot enhances the joy of the artistic process.
Step 2: Sketch the Basic Nose Shape
Begin by lightly sketching the basic shape of the nose. Keep it simple at first; we'll add details later. Focus on the triangular structure, with the base connecting to the face.
Personal Anecdote: Embracing the learning Curve
When I started drawing facial features, the nose was a bit of a puzzle. Embrace the learning curve, and don't be discouraged if it doesn't look perfect initially.
Step 3: Define the Nostrils and Bridge
Add details to your nose sketch by defining the nostrils and the bridge. Pay attention to the curvature of the nostrils and the subtle lines that create the bridge of the nose.
Personal Anecdote: Noticing the Uniqueness
As I practiced, I started noticing the uniqueness of each nose. Whether it's a button nose or a more prominent one, these features add character to a person's face.
Step 4: Shade and Add Dimension
To make your nose lifelike, introduce shading. Consider the direction of light and add shadows accordingly. Shade the sides of the nose to create dimension.
Personal Anecdote: Shadows Tell a Tale
Shading brought my drawings to life. The interplay of light and shadow tells a tale, giving depth to the nose and making it a focal point of the face.
Step 5: Refine and Adjust
Take a step back and evaluate your drawing. Refine any lines, adjust proportions, and fine-tune the details. This step allows you to make the nose harmonize with the overall facial structure.
Personal Anecdote: The Art of Patience
Refining my drawings taught me the art of patience. Small adjustments make a significant difference, transforming a good drawing into a great one.
Tips for Budding Artists
Observe Real Faces
Take time to observe real faces. Study the variety of noses you encounter in everyday life. This observation will enrich your understanding of different nose shapes.
Personal Anecdote: People-Watching Adventures
People-watching became one of my favorite activities. Cafés, parks, and public spaces turned into exciting classrooms where I observed the diversity of noses in the real world.
Conclusion
Drawing a nose is a journey that requires practice, observation, and a sprinkle of creativity. Enjoy the process, appreciate the uniqueness of each nose, and let your artistic skills flourish. Happy sketching!