How to Draw a Cake: A Step-by-Step Guide for Beginners
How to Draw a Cake: A Step-by-Step Guide for Beginners
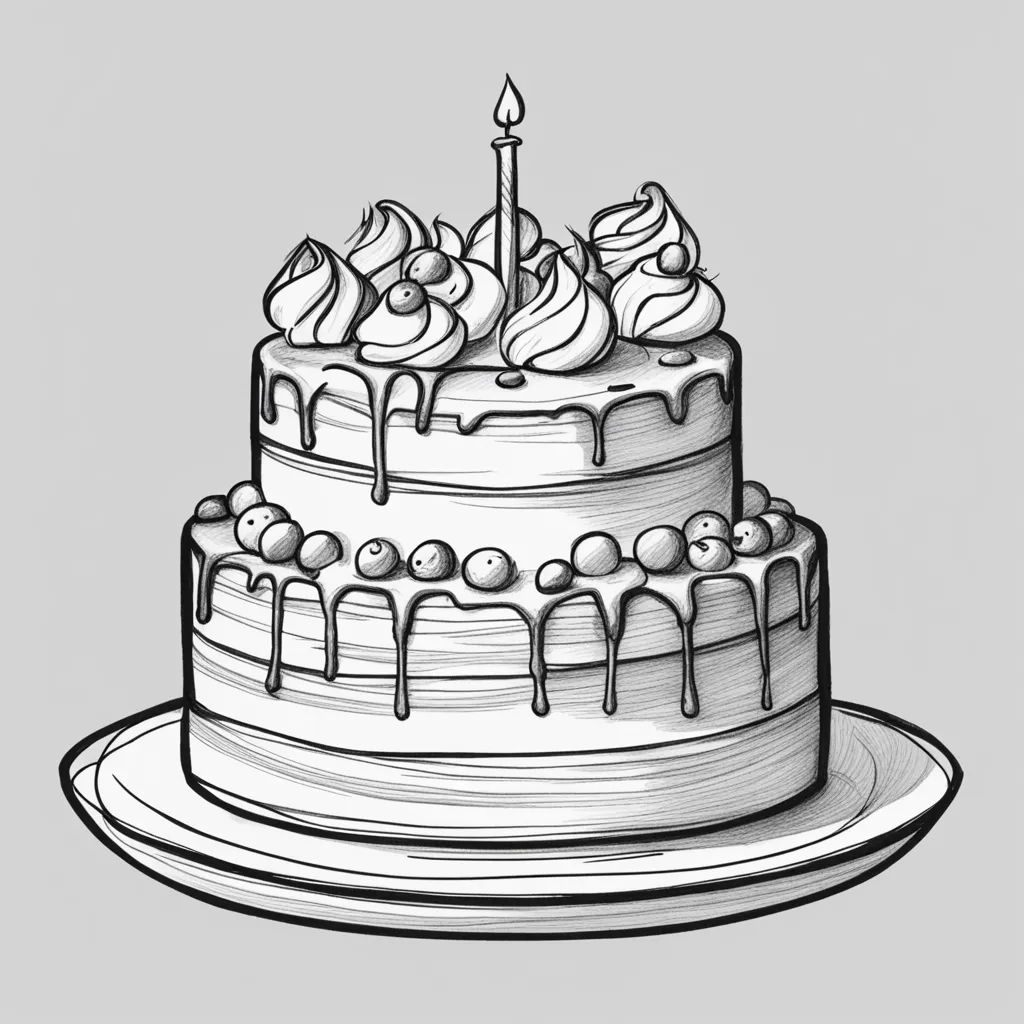
Drawing a cake can be a fun and creative activity, whether you’re an aspiring artist or just looking for a delightful project. Cakes come in various shapes, sizes, and decorations, offering endless possibilities for artistic expression. In this guide, we’ll walk through the basic steps to draw a simple, classic tiered cake, perfect for beginners or anyone looking to brush up on their drawing skills.
Step 1: Gather Your Materials
Before you start, ensure you have all the necessary materials. You’ll need:
- Paper
- Pencil
- Eraser
- Ruler (optional, for straight lines)
- Colored pencils, markers, or watercolors for coloring (optional)
Step 2: Sketch the Outline
- Draw the Base Layer: Start by drawing the base layer of the cake. It’s typically the largest tier. Draw an elongated oval shape for the top view and then two vertical lines down from each end. Connect these lines at the bottom with a curved line that mirrors the top oval. This creates a cylindrical shape.
- Add Additional Tiers: For a tiered cake, repeat the process above but with smaller ovals and shorter lines to make each tier smaller than the one beneath it. Two or three tiers are usually enough for a balanced look.
- Refine the Shape: Go over your lines to make them smooth and even. Use an eraser to correct any mistakes or to fine-tune the cake’s shape.
Step 3: Draw the Icing
- Outline the Top Icing: Add a wavy line along the edge of the top oval to represent icing. The waves can be as big or small as you like, depending on the style of icing you want to depict.
- Add Icing Details to the Sides: Draw small wavy lines or scalloped edges along the sides of each cake tier to suggest icing layers.
Step 4: Decorate Your Cake
This is where you can get creative with your cake design.
- Draw Decorative Elements: Add decorations like flowers, stars, dots, or stripes. You can also draw candles on top for a birthday cake. Use simple shapes - circles, lines, and dots work well for most decorations.
- Write a Message: If it’s a special occasion cake, you can write a simple message on the top tier, like “Happy Birthday” or “Congratulations.”
Step 5: Color Your Cake
If you’re using colors, this step will bring your cake to life.
- Choose Your Colors: Decide on the colors for your cake. You might use pastels for a soft look or bright colors for a more festive cake.
- Color Evenly: Start coloring with light pressure to create an even base. You can add layers of color to create depth or shading.
- Add Details: Use darker shades to add shadows along the edges or beneath each tier. Highlight the decorative elements with contrasting colors to make them stand out.
Step 6: Finishing Touches
Review your drawing for any final adjustments. You might want to darken certain lines, erase smudges, or add more decorative details.
Conclusion
Drawing a cake is not just an artistic endeavor; it’s a way to express creativity and celebrate the joyous aspects of life. Whether you’re drawing for a special occasion or just for fun, the process of creating a cake on paper can be as delightful as making a real one in the kitchen. Remember, the key to a beautiful cake drawing lies in the details – the smoothness of the tiers, the style of the icing, and the vibrancy of the decorations. With practice, you can experiment with more complex designs, adding layers of sophistication to your cake drawings.