how to carve a turkey
Carving a Turkey Like a Pro: A Guide for the Festive Feast
Ah, the holiday season—a time of joy, gratitude, and a perfectly roasted turkey taking center stage on the dining table. Carving the turkey might seem like a daunting task, but fear not! Join me as I share practical tips and personal anecdotes to help you carve that bird with confidence and finesse.
The Tools of the Trade
Personal Carving Set Discovery
Investing in a good carving set was a game-changer for me. The first time I attempted to carve a turkey with a regular knife, let's just say it was a struggle. A proper carving set with a sharp knife and fork makes the process much smoother.
Preparing for the Carving
Step 1: Let It Rest
Once your turkey is out of the oven, resist the temptation to carve immediately. Let it rest for about 20-30 minutes. This allows the juices to redistribute, ensuring a moist and flavorful result.
Personal Resting Revelation
I used to be in such a hurry to get the turkey on the table that I skipped the resting step. It wasn't until I tasted the difference that I understood the importance of patience.
Finding the Right Carving Spot
Step 2: Choose a Stable Surface
Place the rested turkey on a stable cutting board. A carving board with a groove to catch juices is ideal, but any large, sturdy board will do.
Personal Carving Mishap
I once attempted to carve a turkey on a small, wobbly board. Let's just say it led to a comical yet messy situation. Lesson learned: stability is key.
Identifying the Turkey's Anatomy
Step 3: Locate the Joints
Before making any cuts, familiarize yourself with the turkey's joints. The main joints you'll be working with are the thigh joint and the wing joint.
Personal Joint Exploration
I confess, my early carving attempts involved some guesswork about joint locations. Now, I confidently identify and navigate those joints, thanks to a bit of research and practice.
Carving the Turkey
Step 4: Remove the Leg and Thigh
Hold the drumstick with a carving fork and cut through the skin between the thigh and the body. Once you see the joint, apply a bit of pressure to separate the leg and thigh from the body.
Personal Leg and Thigh Triumph
There's a satisfying feeling when the knife glides through the joint, cleanly separating the leg and thigh. It's a moment of carving victory.
Step 5: Separate the Leg and Thigh
Place the leg and thigh skin-side down and find the joint that connects them. Cut through the joint to separate the leg and thigh.
Personal Thigh Separation Wisdom
The first time I attempted this, I struggled to find the joint. Now, I confidently navigate the thigh joint, ensuring smooth separation.
Step 6: Carve the Breast Meat
Slice along the breastbone on one side of the turkey. Use smooth, even strokes to cut through the meat. Repeat on the other side.
Personal Breast Slicing Elegance
Achieving perfectly sliced breast meat took some practice. Now, I aim for uniform slices that showcase the juiciness of the turkey.
Step 7: Slice the Wing
Hold the wing with the carving fork and cut through the joint to separate it from the body.
Personal Wing Mastery
I'll admit, the wing used to be my carving nemesis. Now, I approach it with confidence, knowing how to navigate the joint effortlessly.
Presentation and Enjoyment
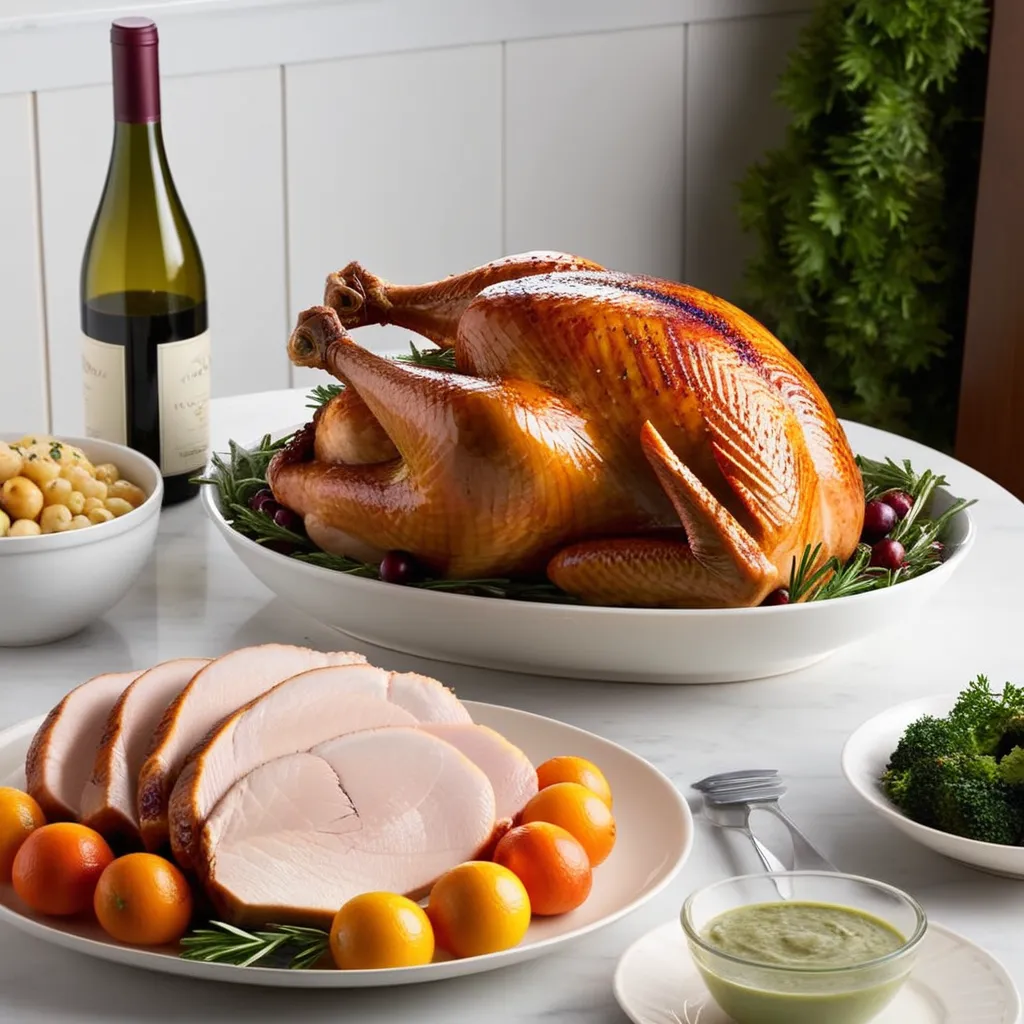
Step 8: Arrange on the Platter
Arrange the carved turkey pieces on a platter, creating an inviting display for your guests.
Personal Platter Pride
The first time I presented a beautifully carved turkey platter, I felt a sense of accomplishment. It's not just about taste; presentation adds to the overall dining experience.
Conclusion
Carving a turkey is a culinary skill that evolves with practice. Armed with the right tools, a bit of patience, and an understanding of the turkey's anatomy, you'll soon be carving like a pro. As you gather around the table with family and friends, savor the moment and enjoy the fruits (or rather, the meats) of your labor. Happy carving!