How to Apply Tung Oil: Achieving a Durable and Natural Finish
How to Apply Tung Oil: Achieving a Durable and Natural Finish
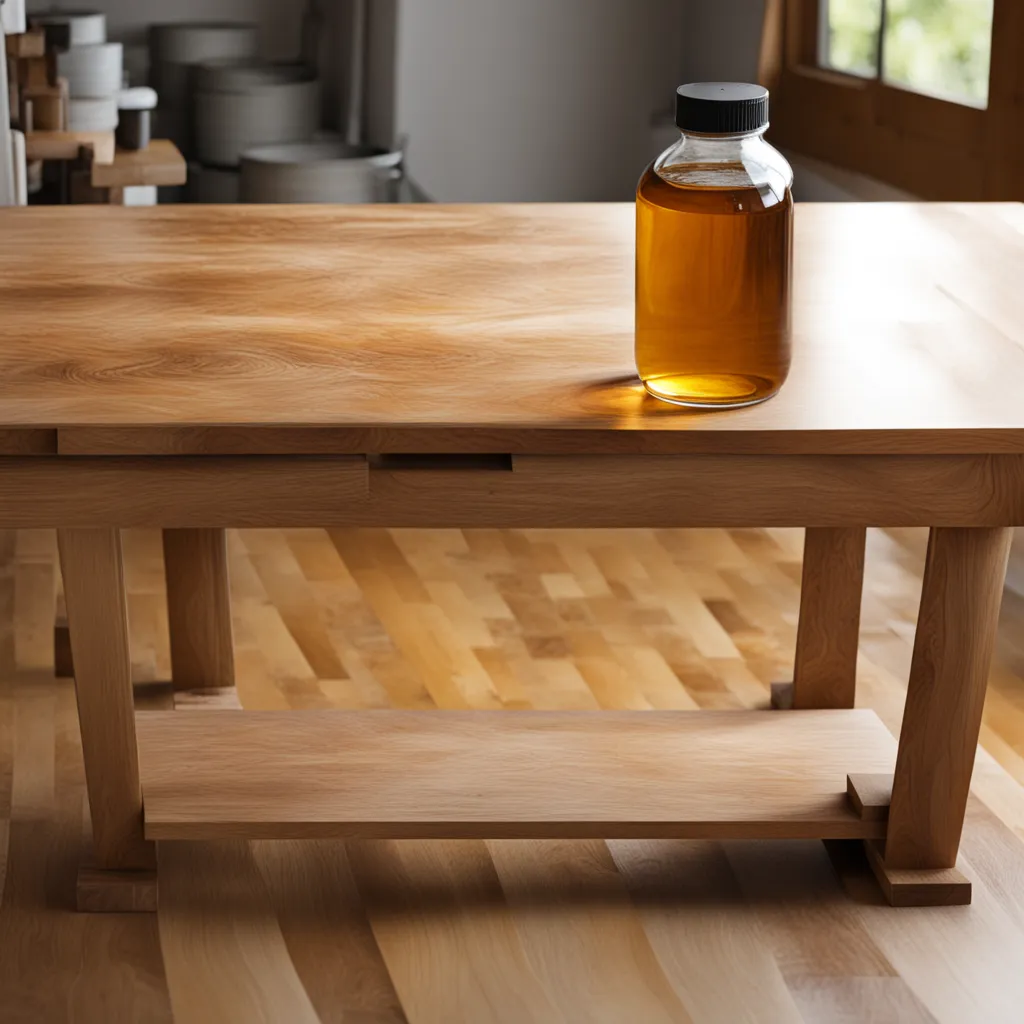
Tung oil, derived from the seeds of the tung tree, is a favorite among woodworkers and DIY enthusiasts for its ability to enhance the natural beauty of wood while providing a durable, water-resistant finish. Unlike synthetic finishes, tung oil penetrates deep into the wood fibers, creating a finish that ages gracefully and maintains the wood's natural charm. This article will guide you through the steps of applying tung oil to achieve a professional, long-lasting finish.
Understanding Tung Oil
Tung oil, also known as China wood oil, has been used for centuries to protect and beautify wood. Pure tung oil is preferred for its ability to harden upon exposure to air, providing a strong, yet flexible, water-resistant finish. There are also modified or polymerized tung oils available, which have additives to speed up drying time and enhance durability.
Preparation Before Applying Tung Oil
- Select the Right Tung Oil: Choose between pure tung oil for a more natural, hand-rubbed finish or modified tung oil for easier application and faster drying times.
- Prepare the Wood Surface: Ensure the wood is clean, dry, and free of any old finishes, dust, or debris. Sand the surface with fine-grit sandpaper (around 220-grit) to smooth any roughness.
- Test the Oil: Apply a small amount of tung oil to a hidden section of the wood to test for any adverse reactions or color changes.
Applying Tung Oil
- Stir the Oil: Before application, stir the tung oil thoroughly to ensure any sediments are evenly distributed.
- Application: Apply a thin layer of tung oil using a clean, lint-free cloth or brush. Work in the direction of the wood grain, ensuring the oil is evenly spread over the surface.
- Allow to Penetrate: Let the oil penetrate the wood for approximately 20 to 30 minutes. This allows the oil to seep into the wood fibers.
- Wipe Off Excess: After the oil has penetrated, use a clean cloth to wipe off any excess oil. Failure to remove excess oil can lead to a sticky finish.
- Drying Time: Allow the first coat to dry completely, which can take 24 to 48 hours, depending on the type of tung oil and environmental conditions.
- Sand Between Coats: Once the first coat is dry, lightly sand the surface with fine-grit sandpaper. This not only smooths the surface but also helps subsequent coats adhere better.
- Apply Additional Coats: Repeat the application process for additional coats. Typically, two to four coats are sufficient, but for surfaces that will endure heavy use, more coats may be necessary.
- Final Drying: Allow the final coat to dry thoroughly. This could take several days, depending on humidity and temperature.
Curing Time
Tung oil continues to harden over time. Allow at least a week for the oil to cure before using the treated object. Full curing can take up to a month.
Maintenance and Care
Maintain the tung oil finish by cleaning the wood with a soft, dry cloth. Avoid using harsh chemicals or abrasive cleaners. Reapply a fresh coat of oil annually, or as needed, to refresh the finish and protect the wood.
Conclusion
Applying tung oil is a straightforward process that requires patience and attention to detail. The reward is a naturally beautiful, durable finish that enhances the wood's character and provides long-lasting protection. Whether you're finishing a new woodworking project or refurbishing an old piece, tung oil offers a timeless finish that celebrates the inherent beauty of wood. Remember, the key to a successful tung oil finish is proper preparation, patience during application and drying, and regular maintenance.